How to Install LED Headlights in Your Car Step-by-Step
A simple guide that helps you upgrade your car lights and enjoy brighter roads at night
If you often drive at night, you already know how important good headlights are. Dim or yellow headlights can make it harder to see the road clearly. That is one reason many drivers are switching to LED headlights.
LED lights are brighter, use less energy, and last much longer than traditional halogen bulbs. The best part is that installing them is usually much easier than people expect. In most cars, you can replace the bulbs yourself in less than an hour.
This guide will walk you through the simple steps to install LED headlights in your car.
Why Many Drivers Prefer LED Headlights
Before getting into the installation steps, it helps to understand why LED headlights are so popular.
Improved visibility during nighttime driving: LED headlights produce a bright white light that makes it easier to see the road, signs, and other vehicles. This improves safety, especially when driving in dark areas.
Lower energy use: LED bulbs use less electricity compared to halogen bulbs. This means they place less load on your car’s electrical system.
Longer life: Most LED headlights last much longer than traditional bulbs, so you will not need to replace them as often.
Modern appearance: LED lights also give your vehicle a clean and modern look that many drivers like.
Tools and Equipment You Will Need
Before starting the installation, gather the tools you need. Having everything ready will make the process easier.
You will need:
-
LED headlight bulbs that match your car model
-
Phillips screwdriver
-
Flathead screwdriver
-
Socket or wrench set
-
Work gloves
-
Microfiber cloth
Some people also use dielectric grease or an anti flicker adapter, but these are optional depending on the vehicle.
Prepare Your Car Before Installation
A little preparation can prevent problems later.
Start by parking the car on a level surface and switching off the engine. If you recently drove the car, wait a few minutes so the engine area cools down.
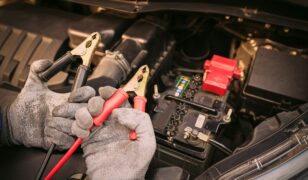
Lift the hood and disconnect the negative terminal of the battery. This step protects the electrical system while you work on the headlights.
It is also a good idea to check your owner’s manual to confirm the bulb type your car uses. LED bulbs come in different sizes, so compatibility matters.
Step-by-Step Guide to Install LED Headlights
Follow these steps carefully and take your time during the process.
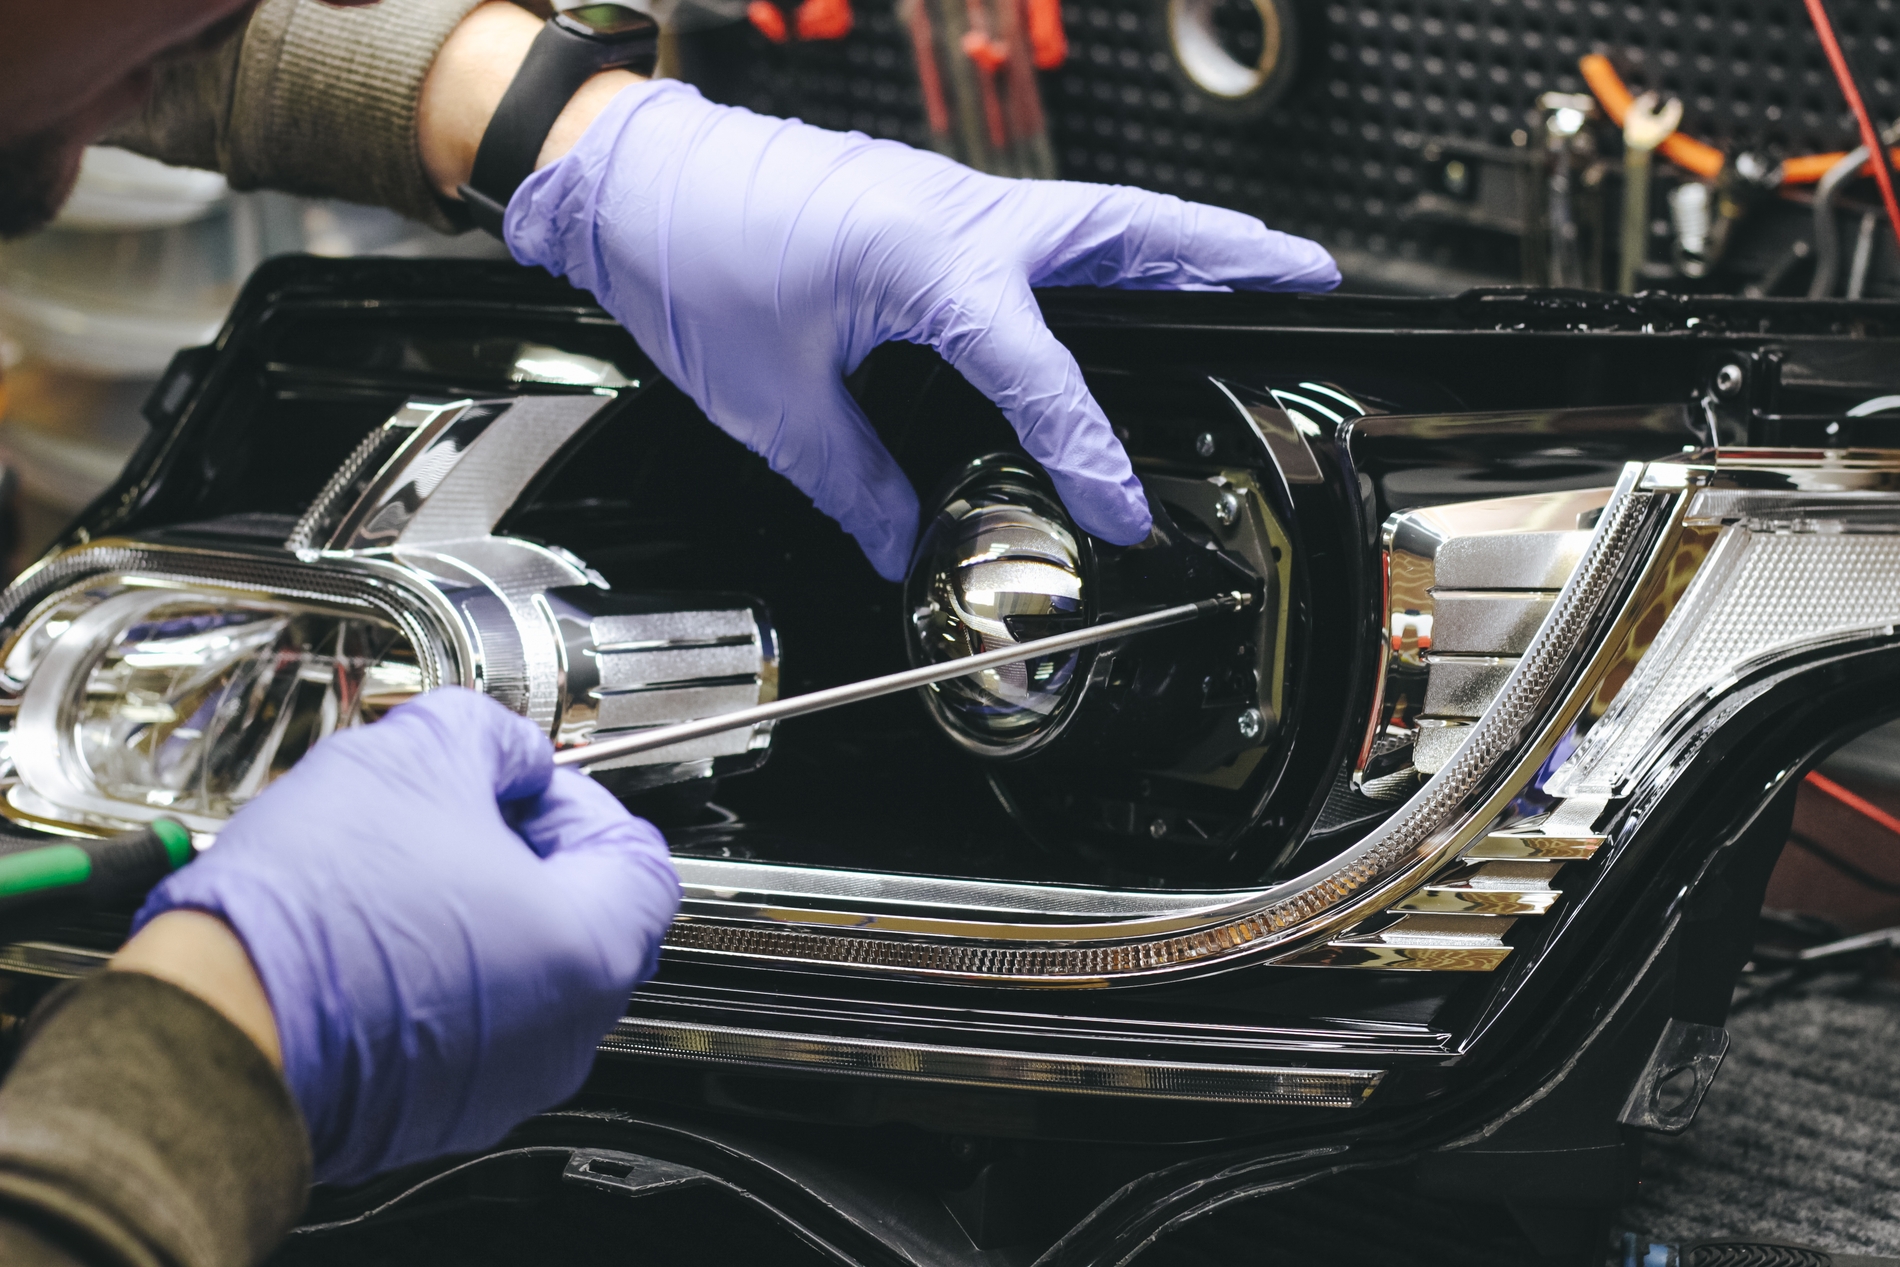
Step 1. Find the Headlight Housing
Open the hood and locate the back side of the headlight assembly. In many vehicles, you can reach the bulbs directly from the engine compartment.
Some cars may have a plastic cover or a few screws protecting the headlight housing. Carefully remove them if your vehicle requires it.
Step 2. Remove the Old Headlight Bulb
Look at the back of the bulb and find the wiring connector attached to it. Gently pull the connector to unplug it.
After disconnecting the wire, twist the bulb counterclockwise and pull it out of the socket. Some vehicles may also have a small metal clip that holds the bulb in place.
Set the old bulb aside.
Step 3. Install the New LED Bulb
Take the new LED bulb and hold it by the base. Avoid touching the light surface with your fingers because oil from your skin can damage it.
Insert the LED bulb into the socket and turn it clockwise until it locks in place.
Reconnect the wiring connector to the bulb. Some LED kits include a small driver module. If your kit has one, place it somewhere safe away from heat.
Step 4. Repeat the Process for the Other Side
Once one headlight is installed, repeat the same steps for the other headlight.
Test the Headlights
Test the headlights before reassembling everything.
Reconnect the battery and turn on the headlights. Check both the low beam and high beam settings.
Make sure both lights are working properly and have equal brightness. If one light does not turn on, check the wiring connection again.
Put Everything Back Together
After confirming that the headlights work correctly, reinstall any covers or screws you removed earlier.
Make sure everything is secure but do not tighten screws too much. Close the hood and clean the headlight area with a cloth if needed.
Finally, take a short drive at night to see how much brighter the road looks.
Final Thoughts
Installing LED headlights is one of the easiest upgrades you can make to your car. It improves visibility, adds a modern look, and can last for many years.
With the right bulbs and a little patience, most drivers can complete this upgrade at home. Once you experience the brighter light on the road, you will likely wonder why you did not switch to LED headlights sooner.