How to Prep Your Car for Long-Term Storage in 10 Steps
So you’re leaving your car behind for a while. Maybe the winters are coming, and you’ve got a sweet convertible that has no reason to be on icy roads. Maybe you’re heading overseas for work, deploying with the military, or just parking a second car you won’t be touching for months. Whatever the reason, you can’t just lock the doors and walk away.
Leaving a car to sit for months without proper preparation might end up with rusted brakes, flat tires, chewed wiring from a mouse that found a cozy little home under the hood, and a dead battery.
The good news? A few hours of smart prep today can save you hundreds or thousands of dollars later.
Here’s exactly how to do it right.
Step 1: Find the Right Place to Store It
Before you do anything else, figure out where the car is going to live. This decision affects how much extra prep work you’ll need.
- A private garage is your best bet. It keeps the car dry, shielded from temperature extremes. If you have one, use it. Just make sure it’s well-ventilated and run a dehumidifier in there, especially if you live somewhere humid.
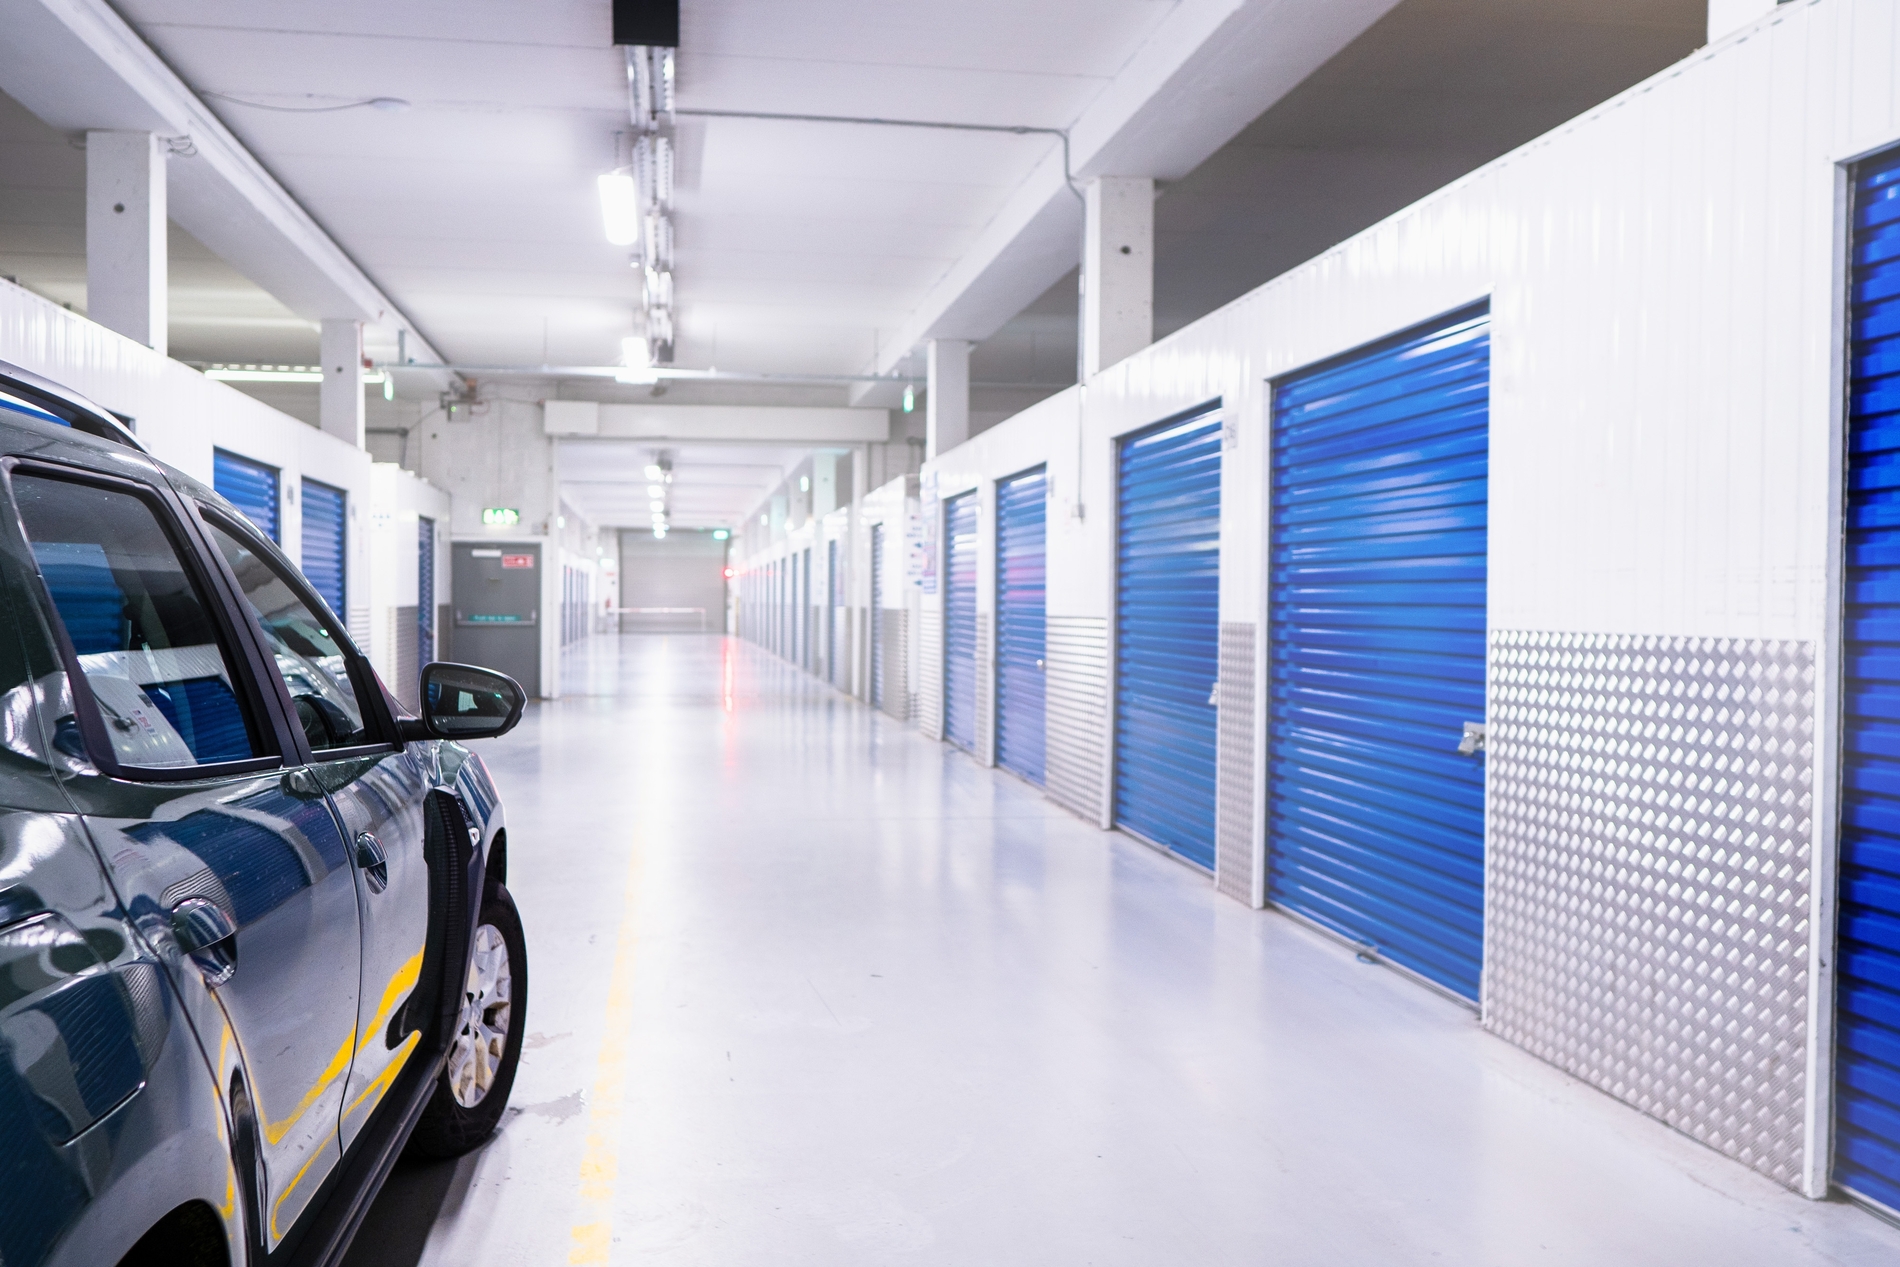
- A professional storage facility is worth considering for long-term parking, especially for a collector or classic car. They are mostly climate-controlled units. Yes, it costs money, but it’s peace of mind you can’t put a price on.
- Outdoors is the least ideal option, but sometimes it’s all you’ve got. If that’s you, at least park on level ground, away from, and grab a quality car cover.
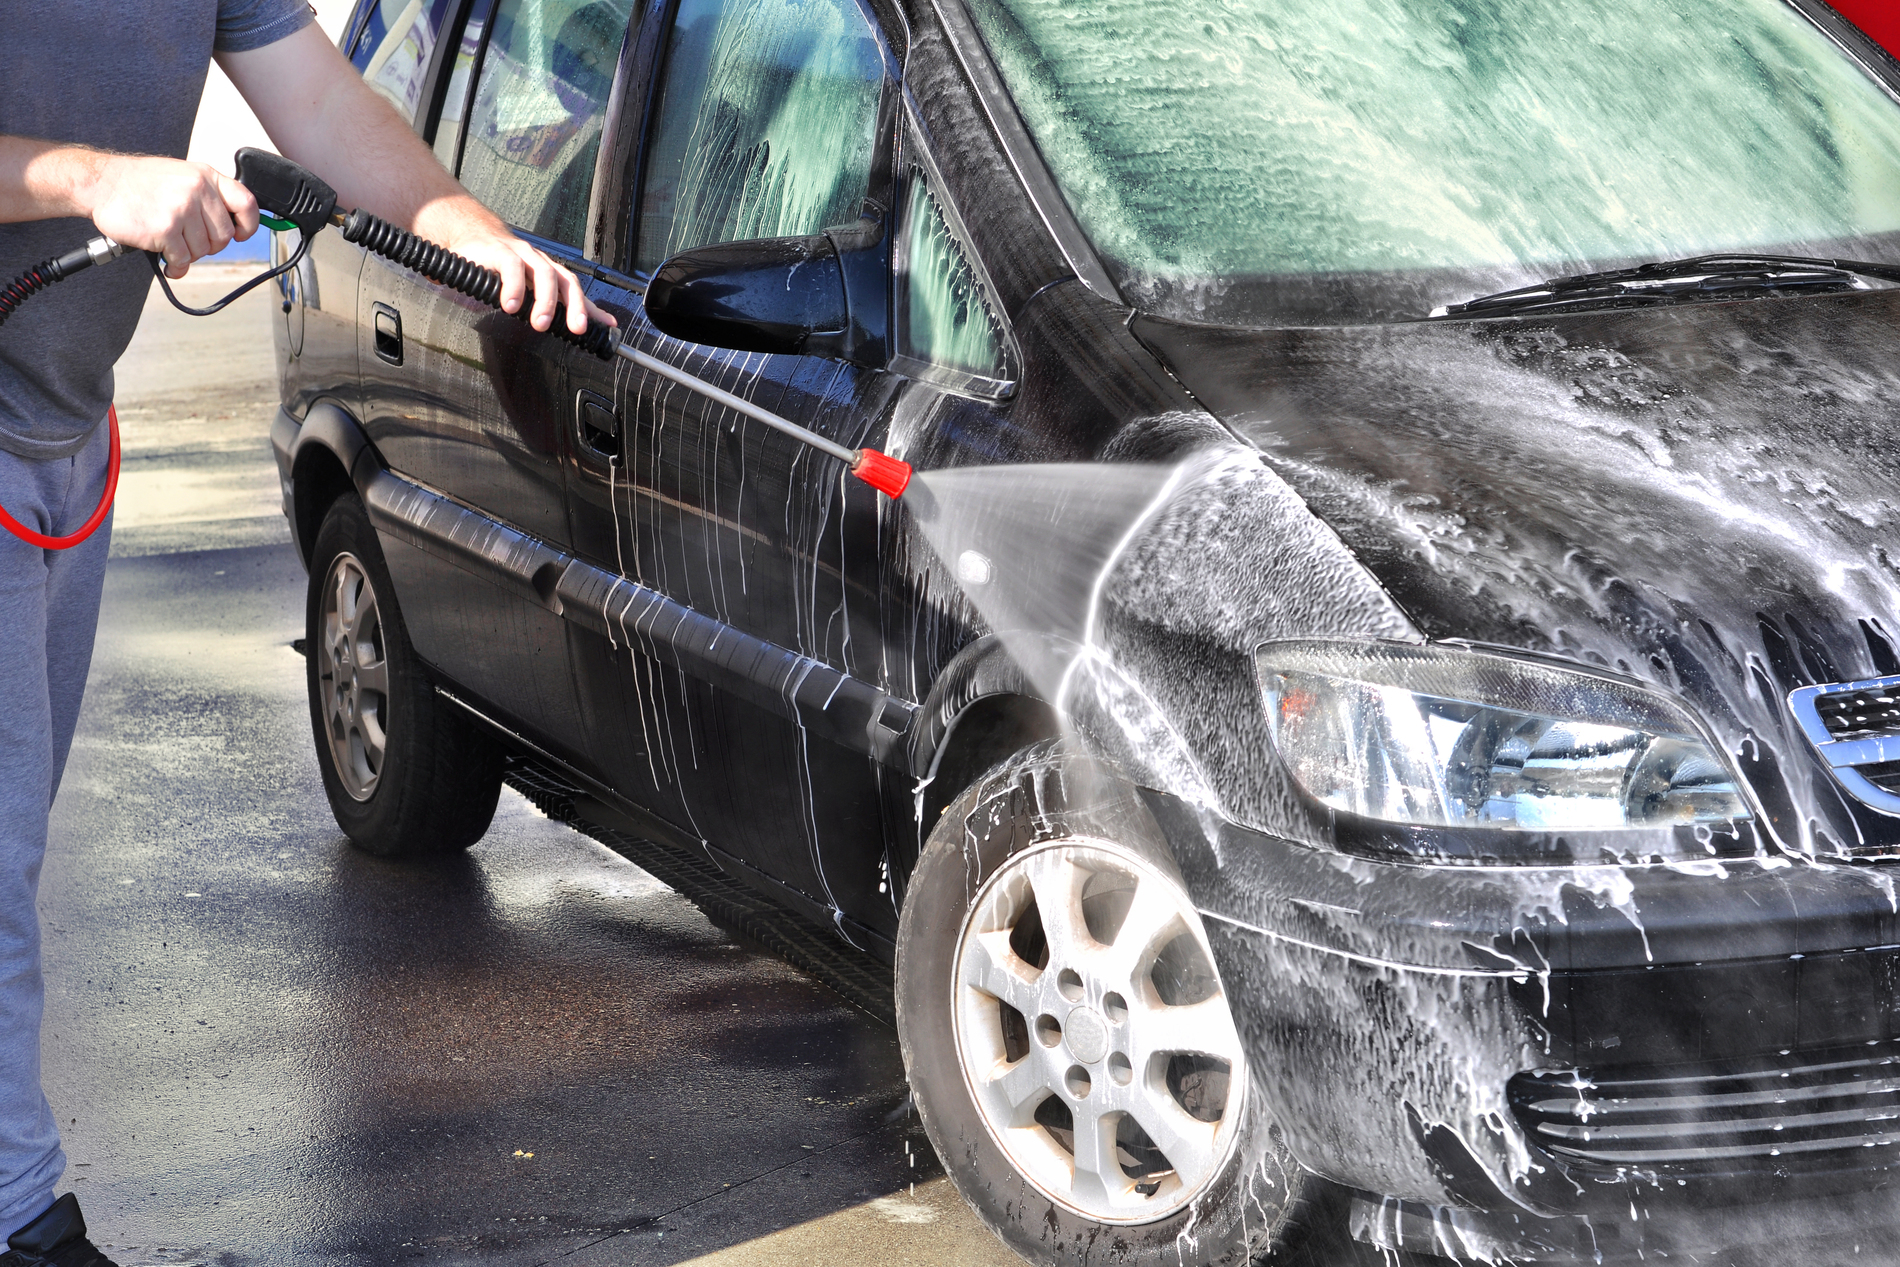
Step 2: Clean It Inside and Out
This one surprises people. Why wash a car you’re about to put away? Because leaving dirt, bird droppings, tree sap, or road grime on the paint is like letting acid sit on the surface for months. It will damage the finish.
Wash it thoroughly, get into the wheel wells and the undercarriage, and then give it a coat of wax. That waxy layer acts as a protective shield against moisture and debris while the car sits.
Don’t forget the interior. Vacuum it out completely. Throw away any food wrappers, crumbs, or anything remotely perishable. Rodents have an excellent nose, and a forgotten granola bar in the back seat is basically an invitation. Wipe down leather or vinyl seats with a conditioner to keep them from cracking, and toss a few silica gel packs inside to keep moisture levels in check.
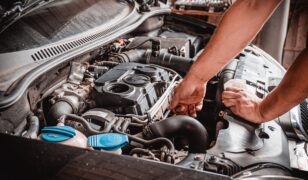
Step 3: Change the Engine Oil
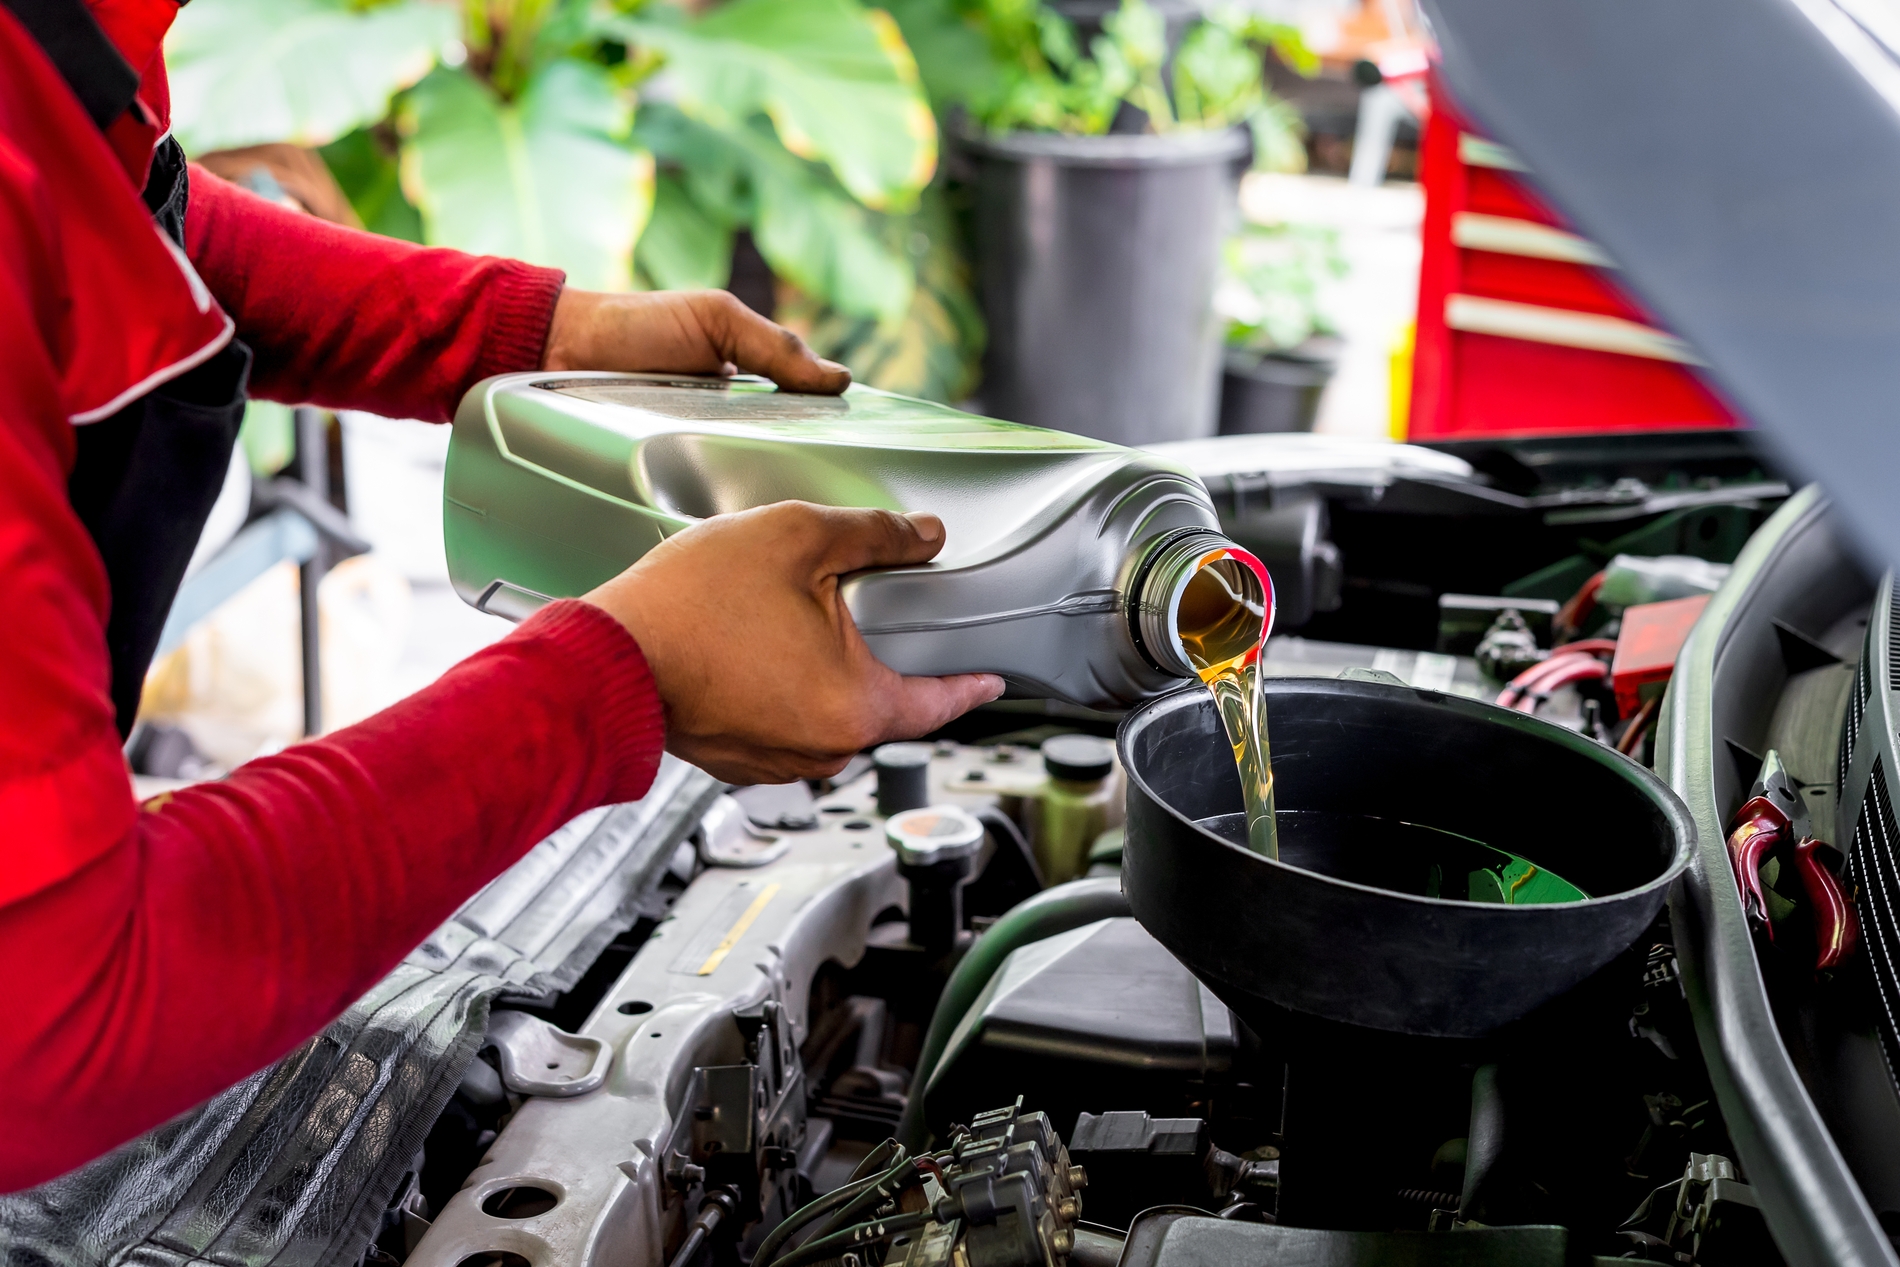
You might argue that you have just changed the oil a few hundred miles ago. Do not argue because used engine oil is not just dirty, it’s acidic. Over time, contaminants in old oil can corrode your engine’s internal components. If you’re storing the car for more than 30 days, change the oil before you put it away. Fresh oil doesn’t have those corrosive byproducts sitting against metal surfaces for months on end.
It’s a small cost for a lot of protection.
Step 4: Fill Up the Tank and Add a Fuel Stabilizer

A full fuel tank prevents two problems: moisture buildup inside the tank and seals drying out. Both of those things are bad, so fill it right up.
Now here’s the critical part. Add a fuel stabilizer, too. It will prevent the ethanol in modern gasoline from breaking down, stop varnish and gum from forming in the fuel system, and protect against rust. Without it, gas starts to degrade in as little as 30 days.
After adding the stabilizer, run the engine for five to ten minutes so it circulates through the whole system. Then you’re good.
Step 5: Top Up All Other Fluids
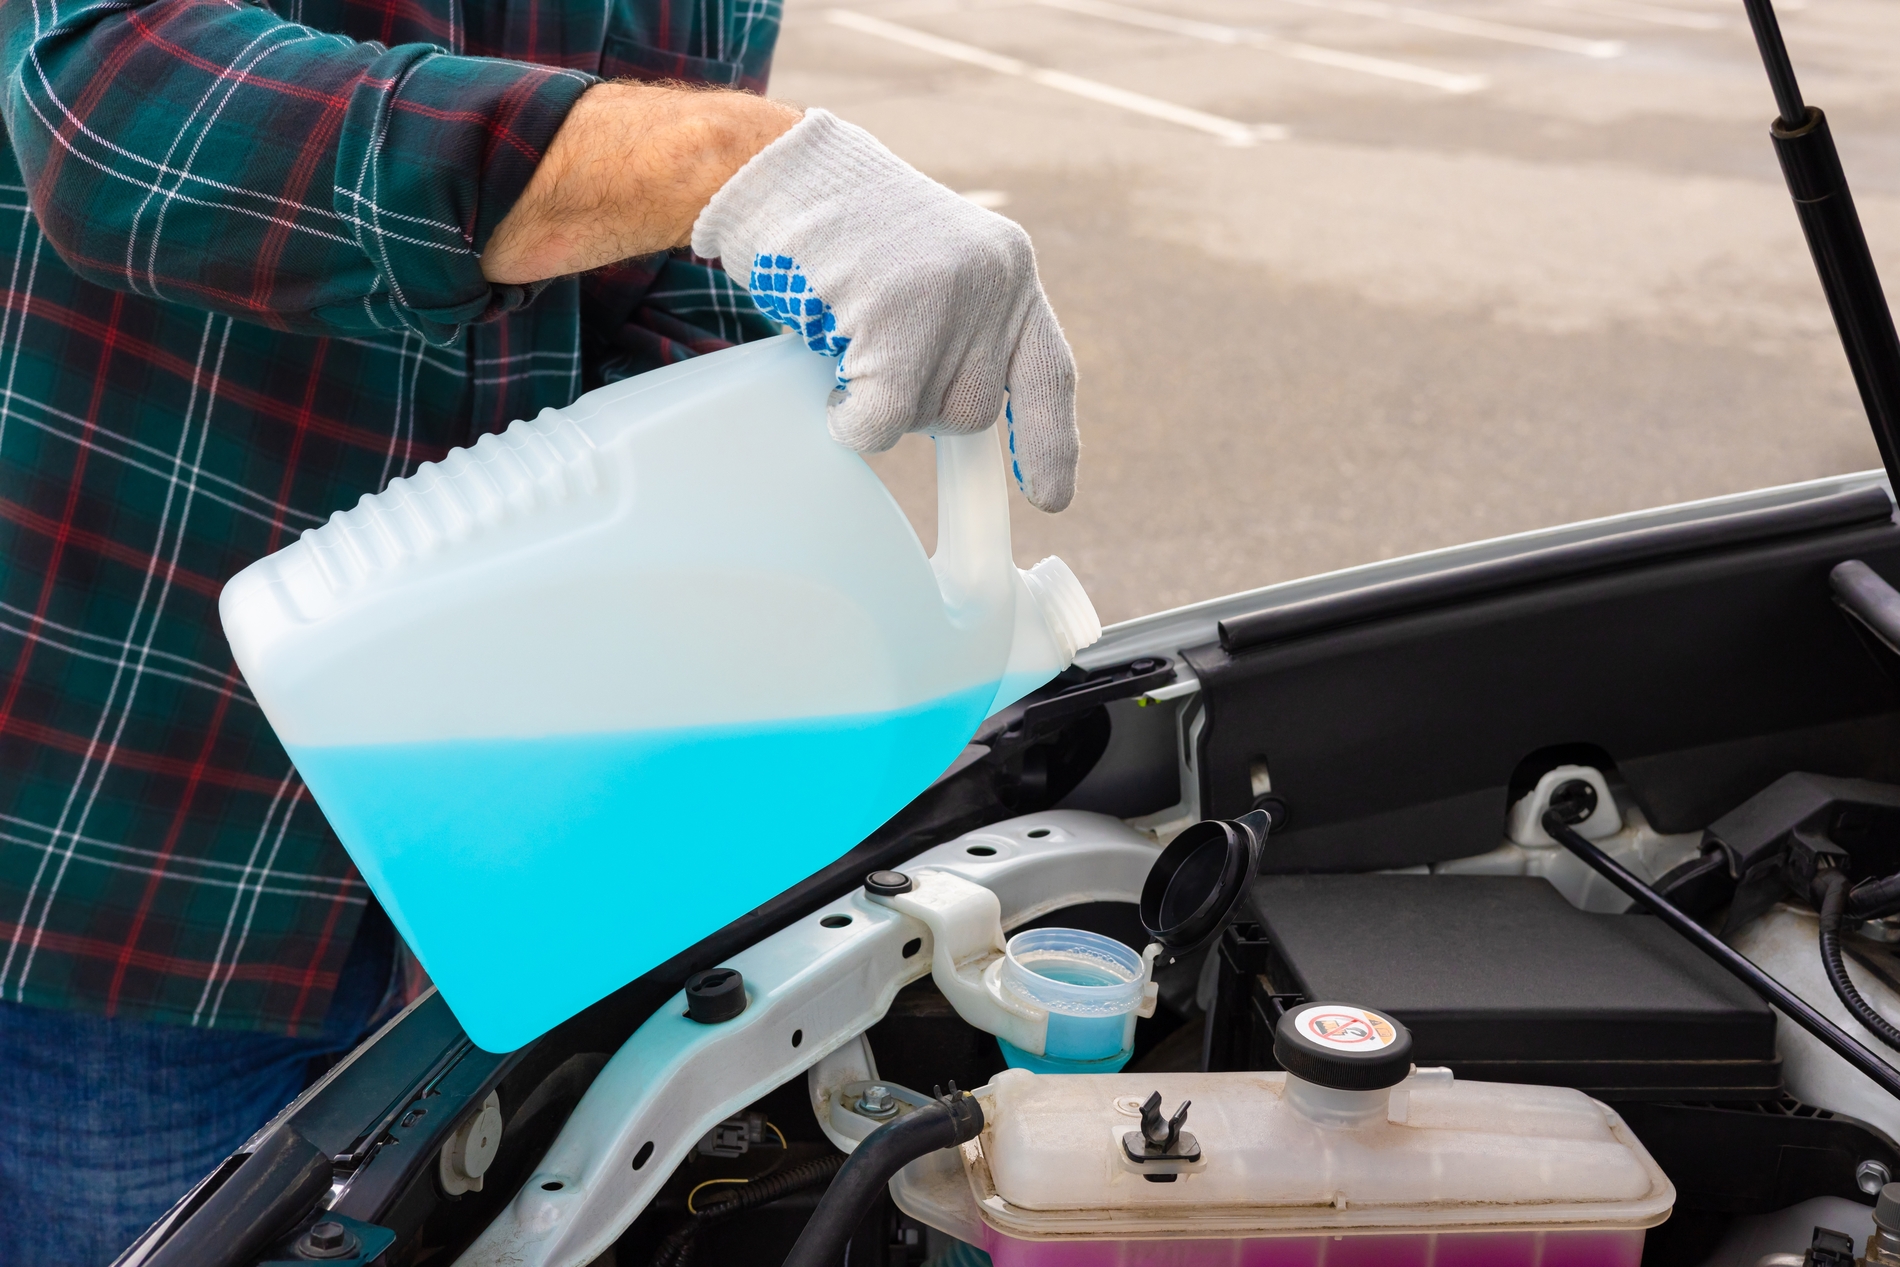
While you’re in maintenance mode, top everything else up too. Coolant, brake fluid, power steering fluid, transmission fluid — all of it. Check for leaks while you’re under there. Now is the time to catch a small drip before it becomes a big problem three months from now.
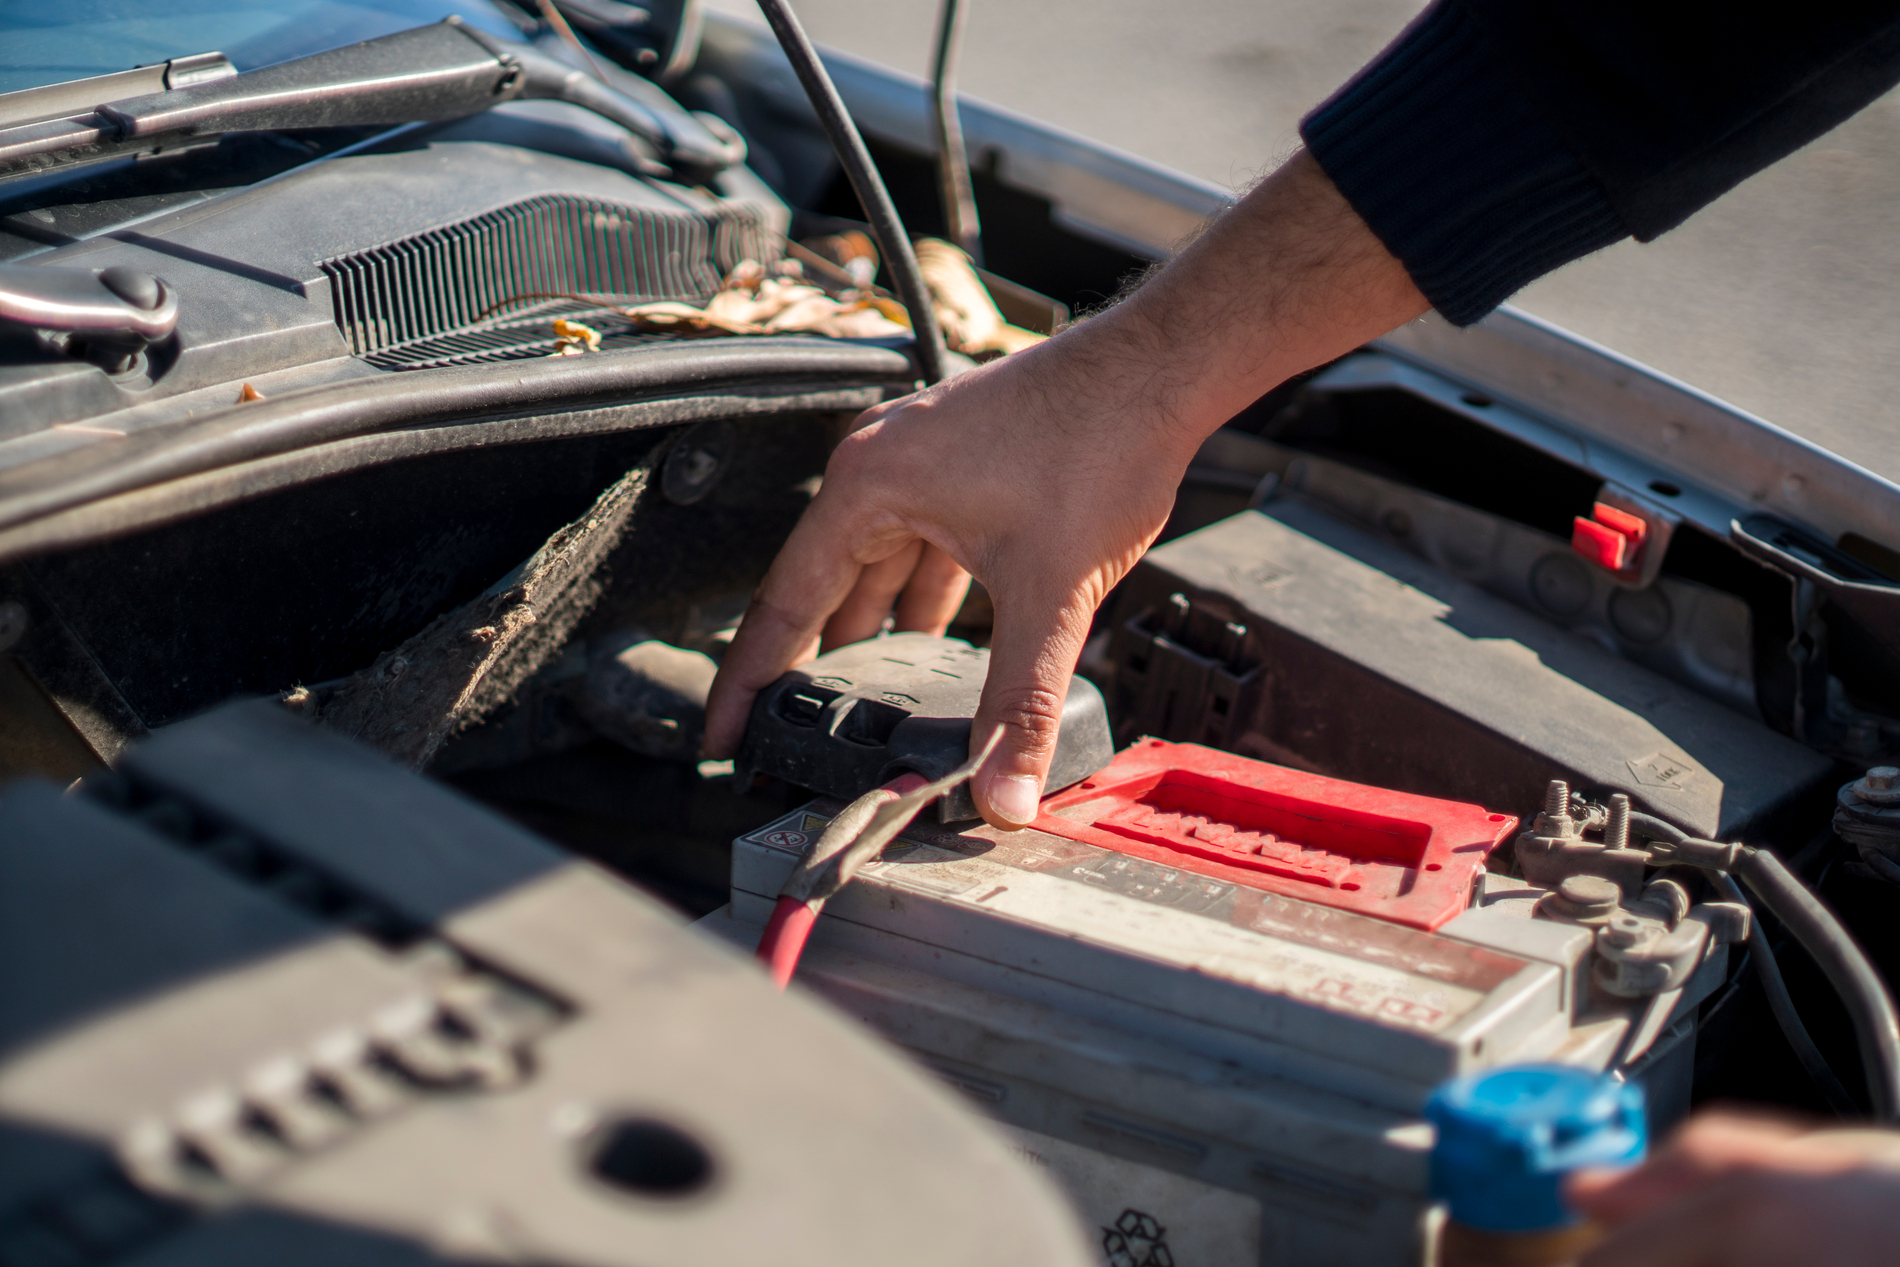
Step 6: Take Care of the Battery
A car battery left sitting on its own will eventually drain, and potentially sulfate means it may never take a proper charge again. Do not worry. You’ve got a few options here.
The best option is a battery tender (also called a trickle charger). It plugs into a wall outlet and keeps your battery at the perfect charge level without overcharging it. Set it and forget it; your battery will be full and healthy when you return.
If you can’t plug in, your next best option is to disconnect the negative terminal. You’ll lose your clock, radio presets, and other settings, but the battery won’t drain. It is simple and effective.
What you shouldn’t do is have someone start the car once a week and let it idle. A short idle doesn’t bring the engine, fluids, or exhaust to full operating temperature, and it actually introduces condensation. If someone’s going to start it, have them take it for a proper 15–20 minute drive.
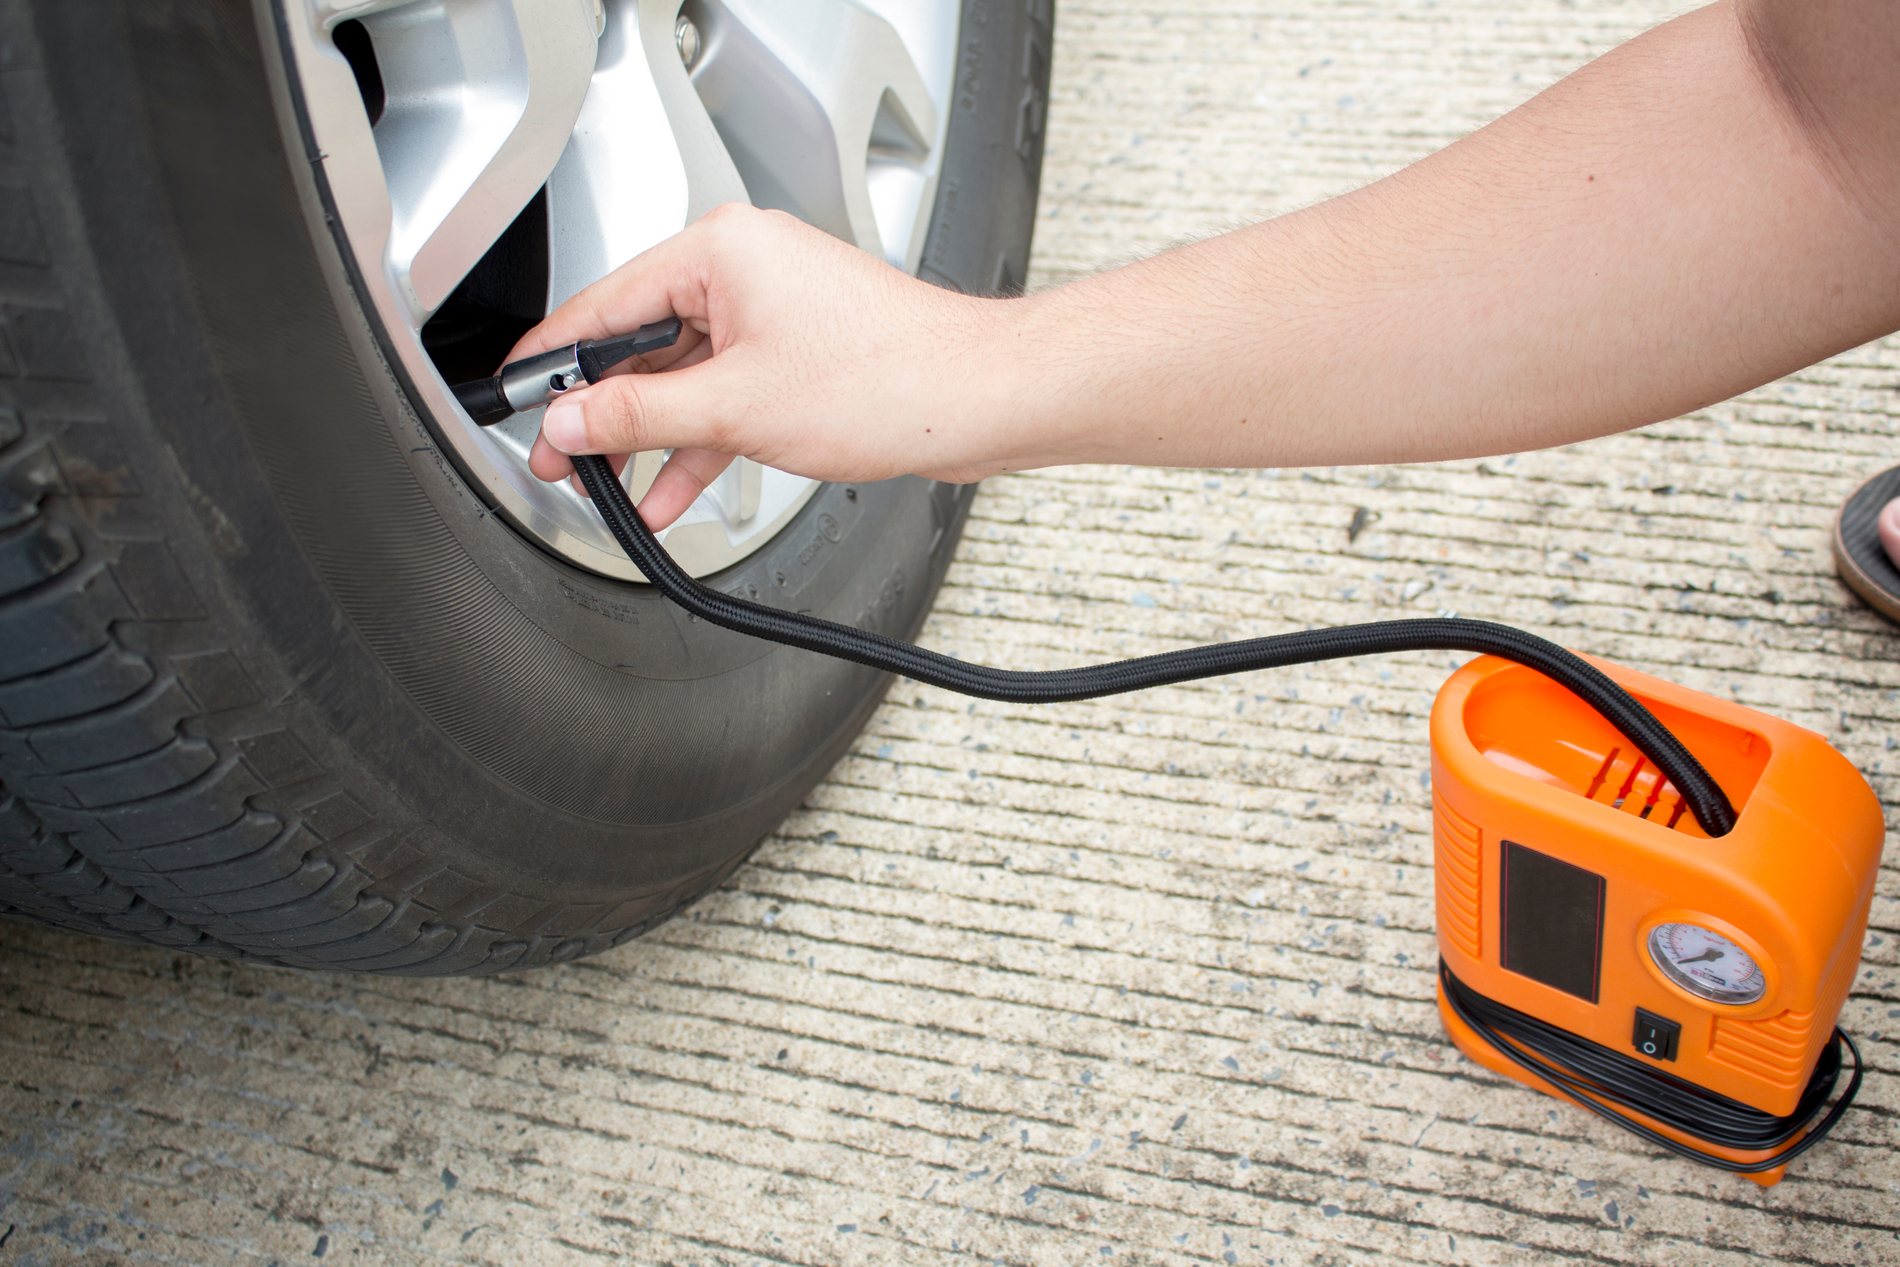
Step 7: Protect the Tires
Tires left under a vehicle’s weight for too long can develop flat spots. It happens faster in cold weather and with performance or low-profile tires. Here’s how to deal with it.
First, inflate your tires to the higher end of the recommended PSI before storage. Second, if possible, have someone move the car a few feet every few weeks to redistribute the load across the tire tread.
For longer storage periods like three months or more, place the car on jack stands at all four corners and take the wheels off. It’s more work, but it will save your spending thousands on new tires.
Step 8: Don’t Use the Parking Brake
This is a counterintuitive one. Your gut says “use the parking brake,” but for long-term storage, don’t. Brake pads left in contact with rotors for extended periods can stick to them. It’s as bad as it sounds.
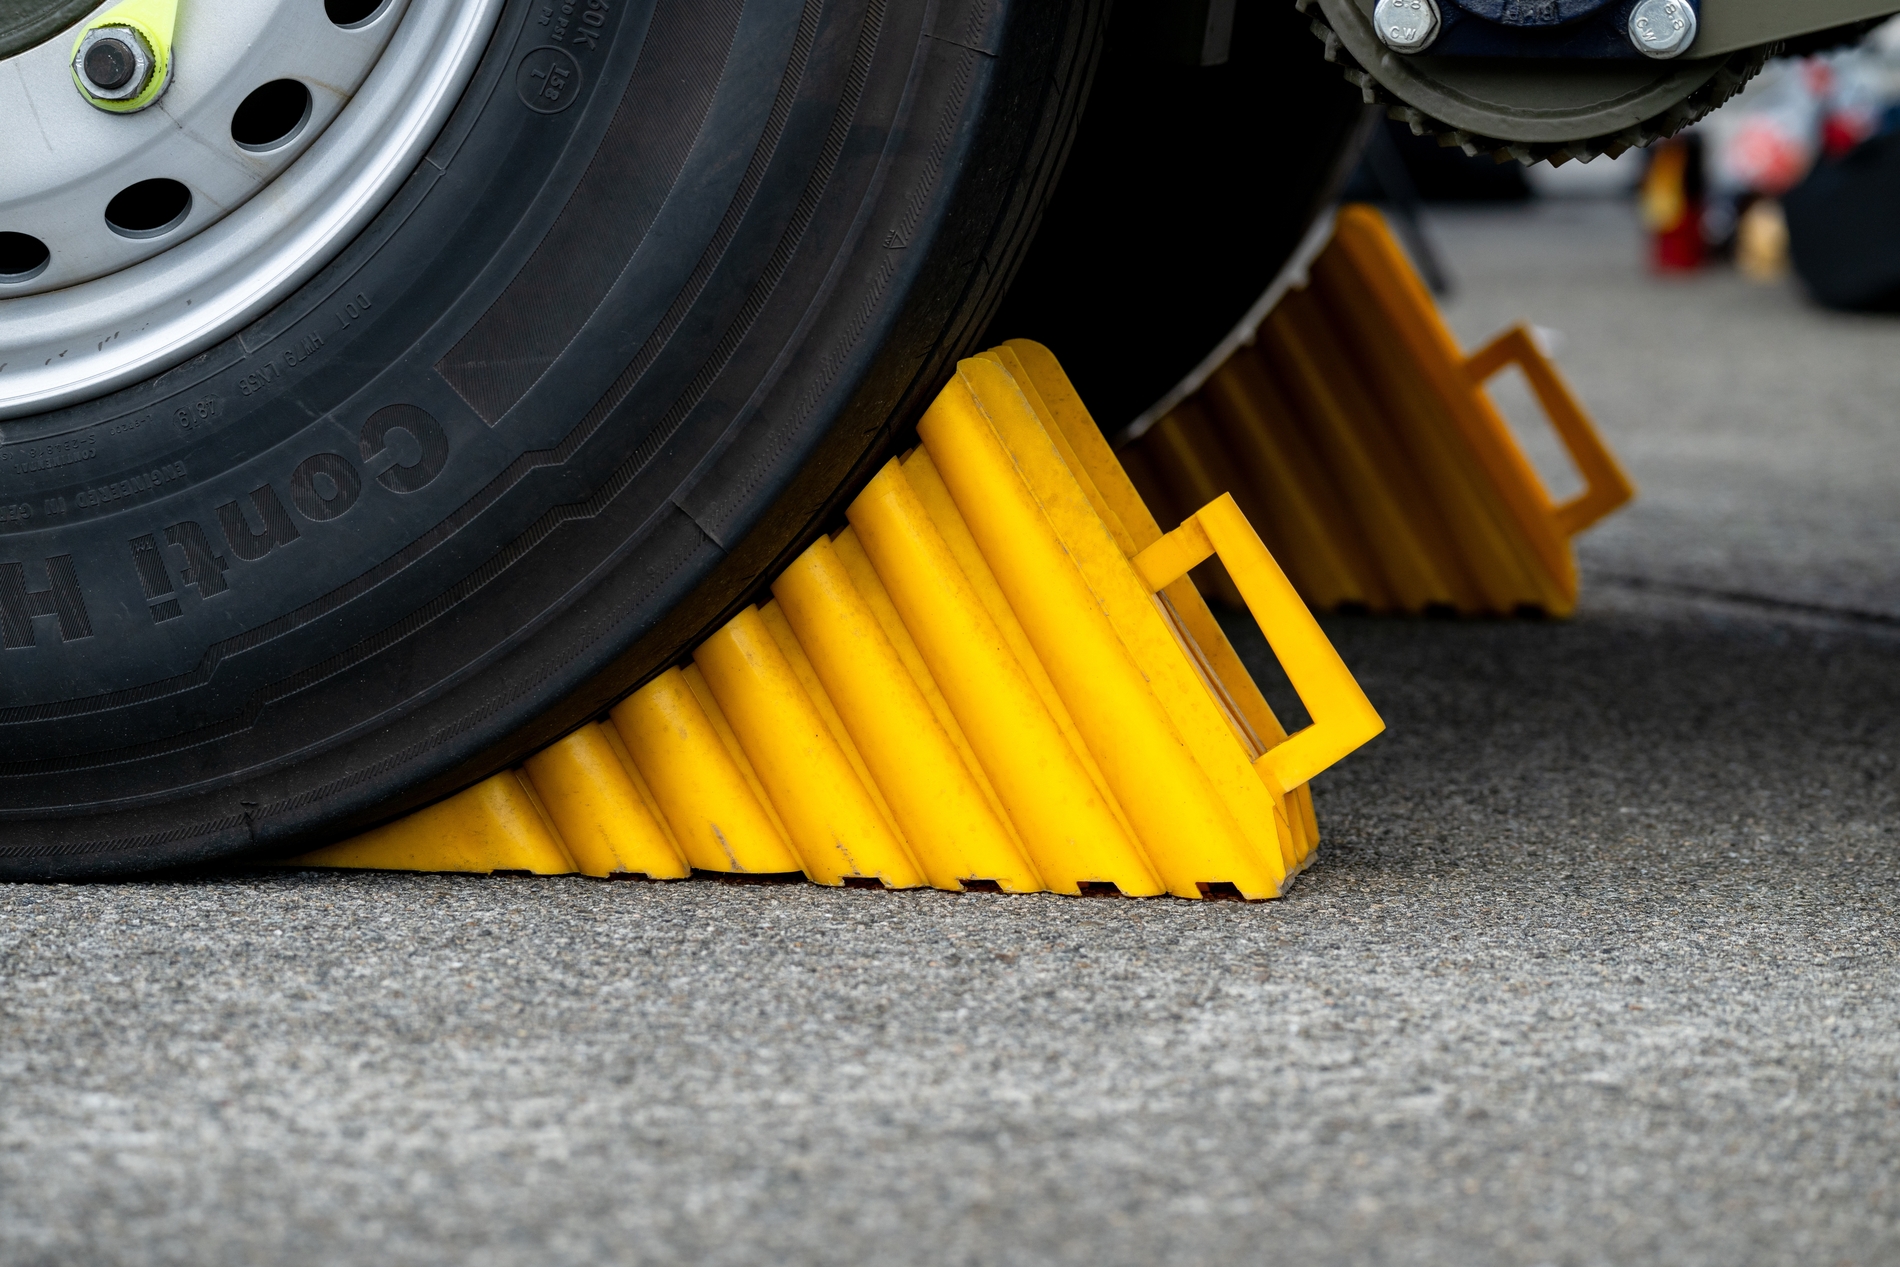
Instead, leave an automatic car in Park or a manual in first or reverse gear, and use a set of wheel chocks. Those little steps do the job without any risk of your brakes fusing with the wheel.
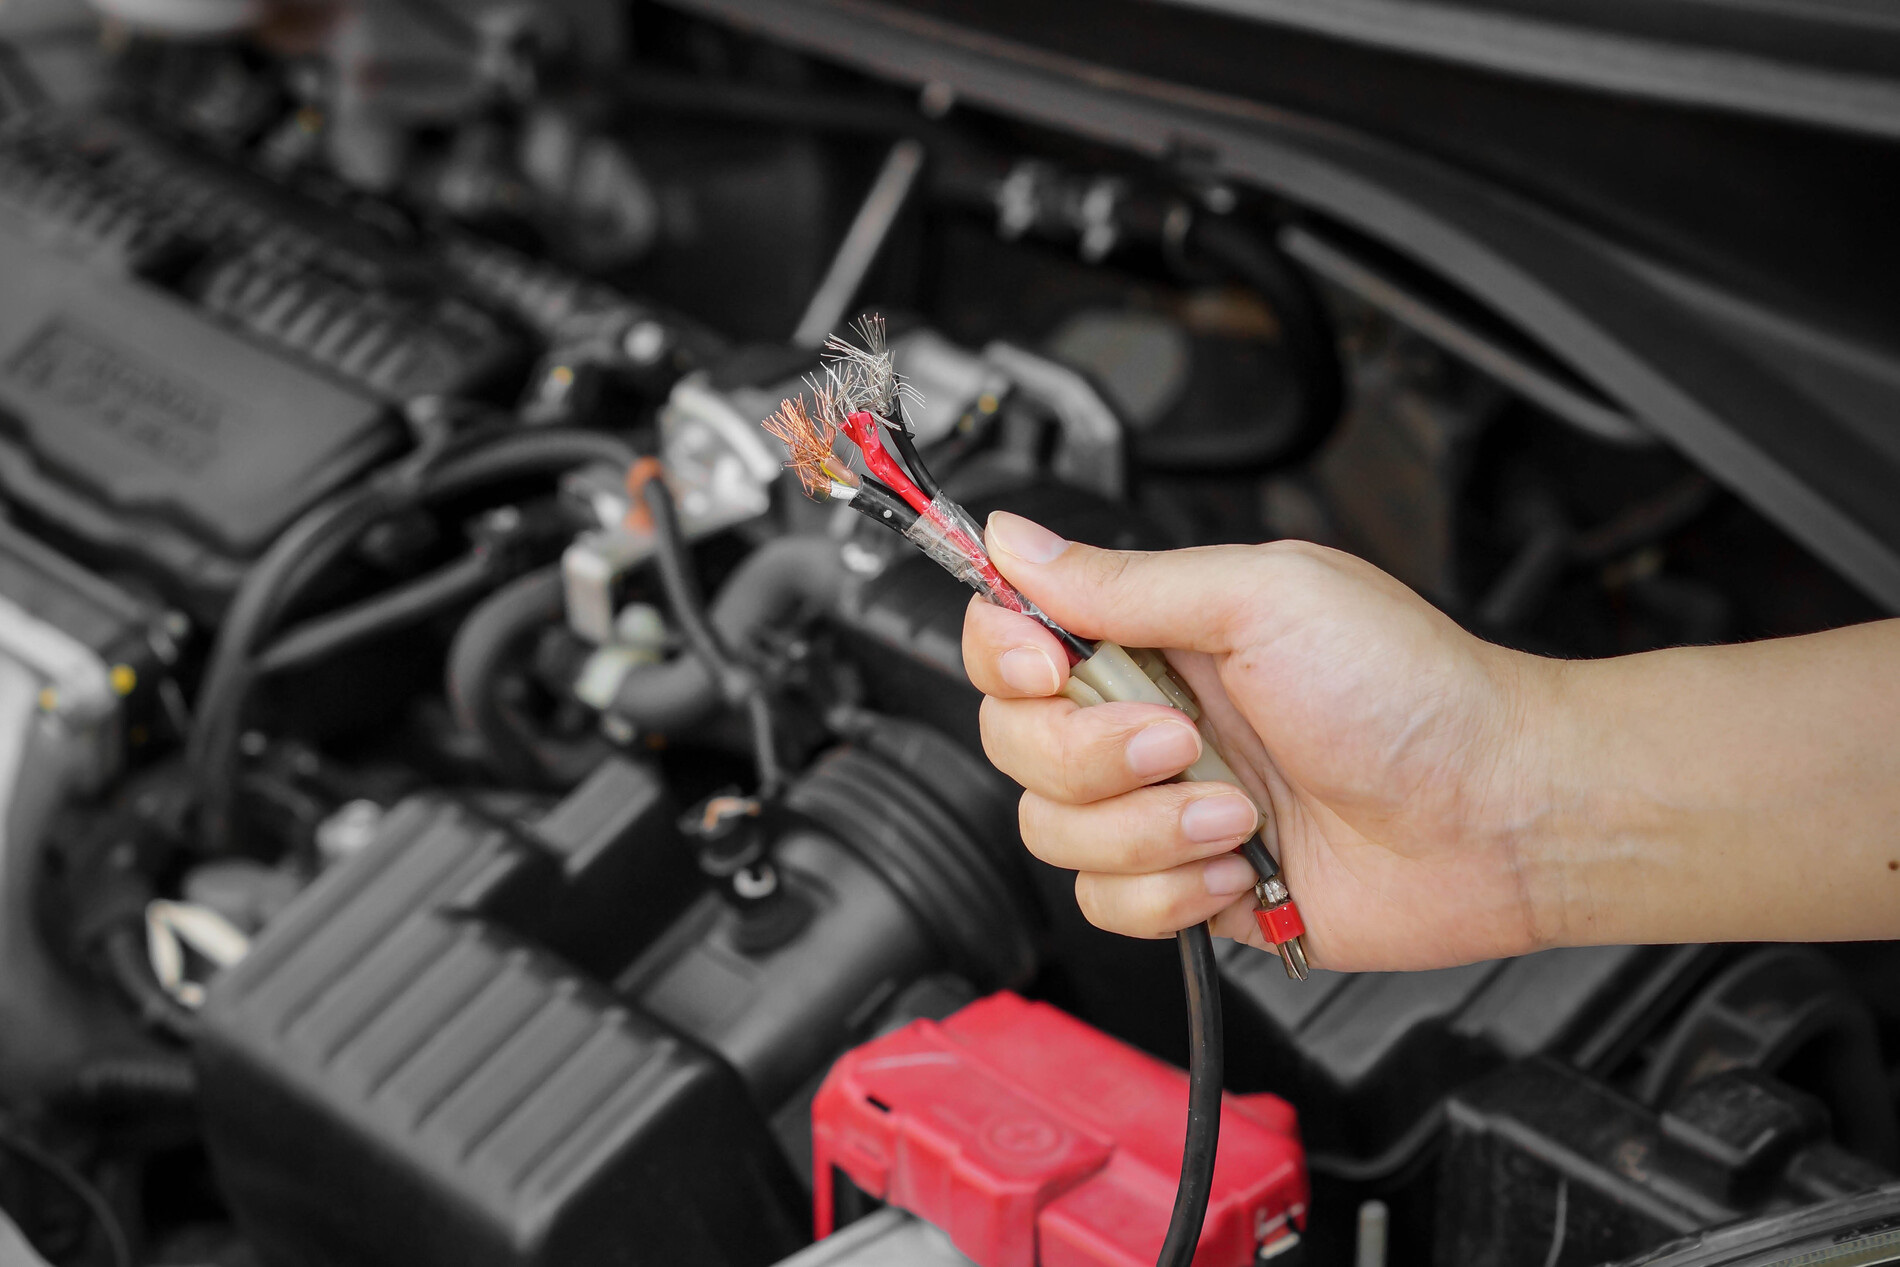
Step 9: Keep the Critters Out
A warm, quiet, sheltered car is basically a five-star hotel for mice. And once they move in, they chew wiring, hoses, air filters, insulation, and everything they find interesting. The damage can be expensive and deeply annoying to sort out.
To prevent it, block entry points first. Stuff steel wool into the exhaust pipe and any air intakes. It’s easy to remove when you return, and it stops rodents from getting in through those openings.
Then create a scent barrier. Spread mothballs or cotton balls soaked in peppermint oil around the perimeter of the car. Mice genuinely hate the smell. For extra insurance, set a few mousetraps in the garage and ask someone to check them periodically.
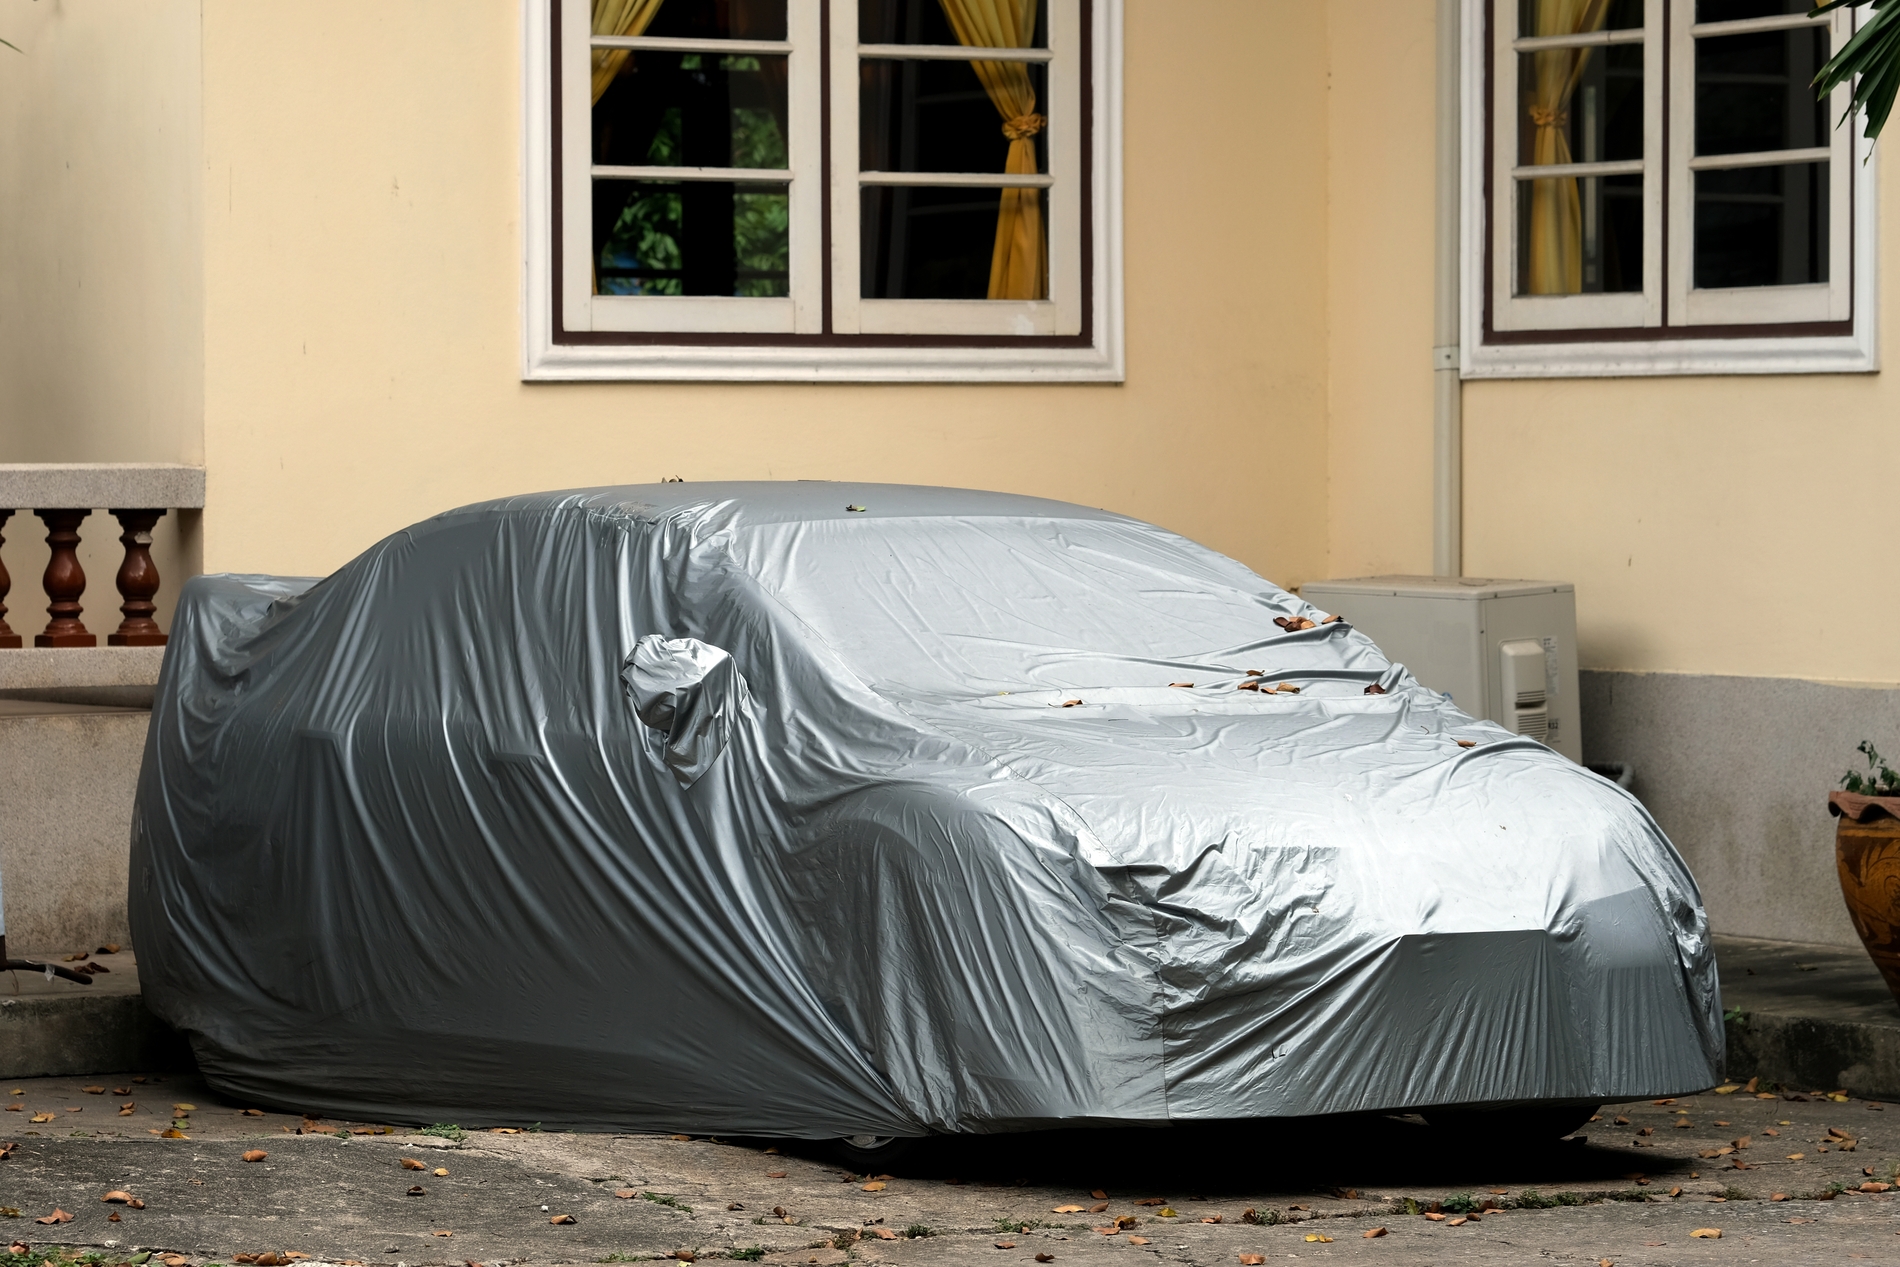
Step 10: Sort Out Your Insurance and Cover the Car
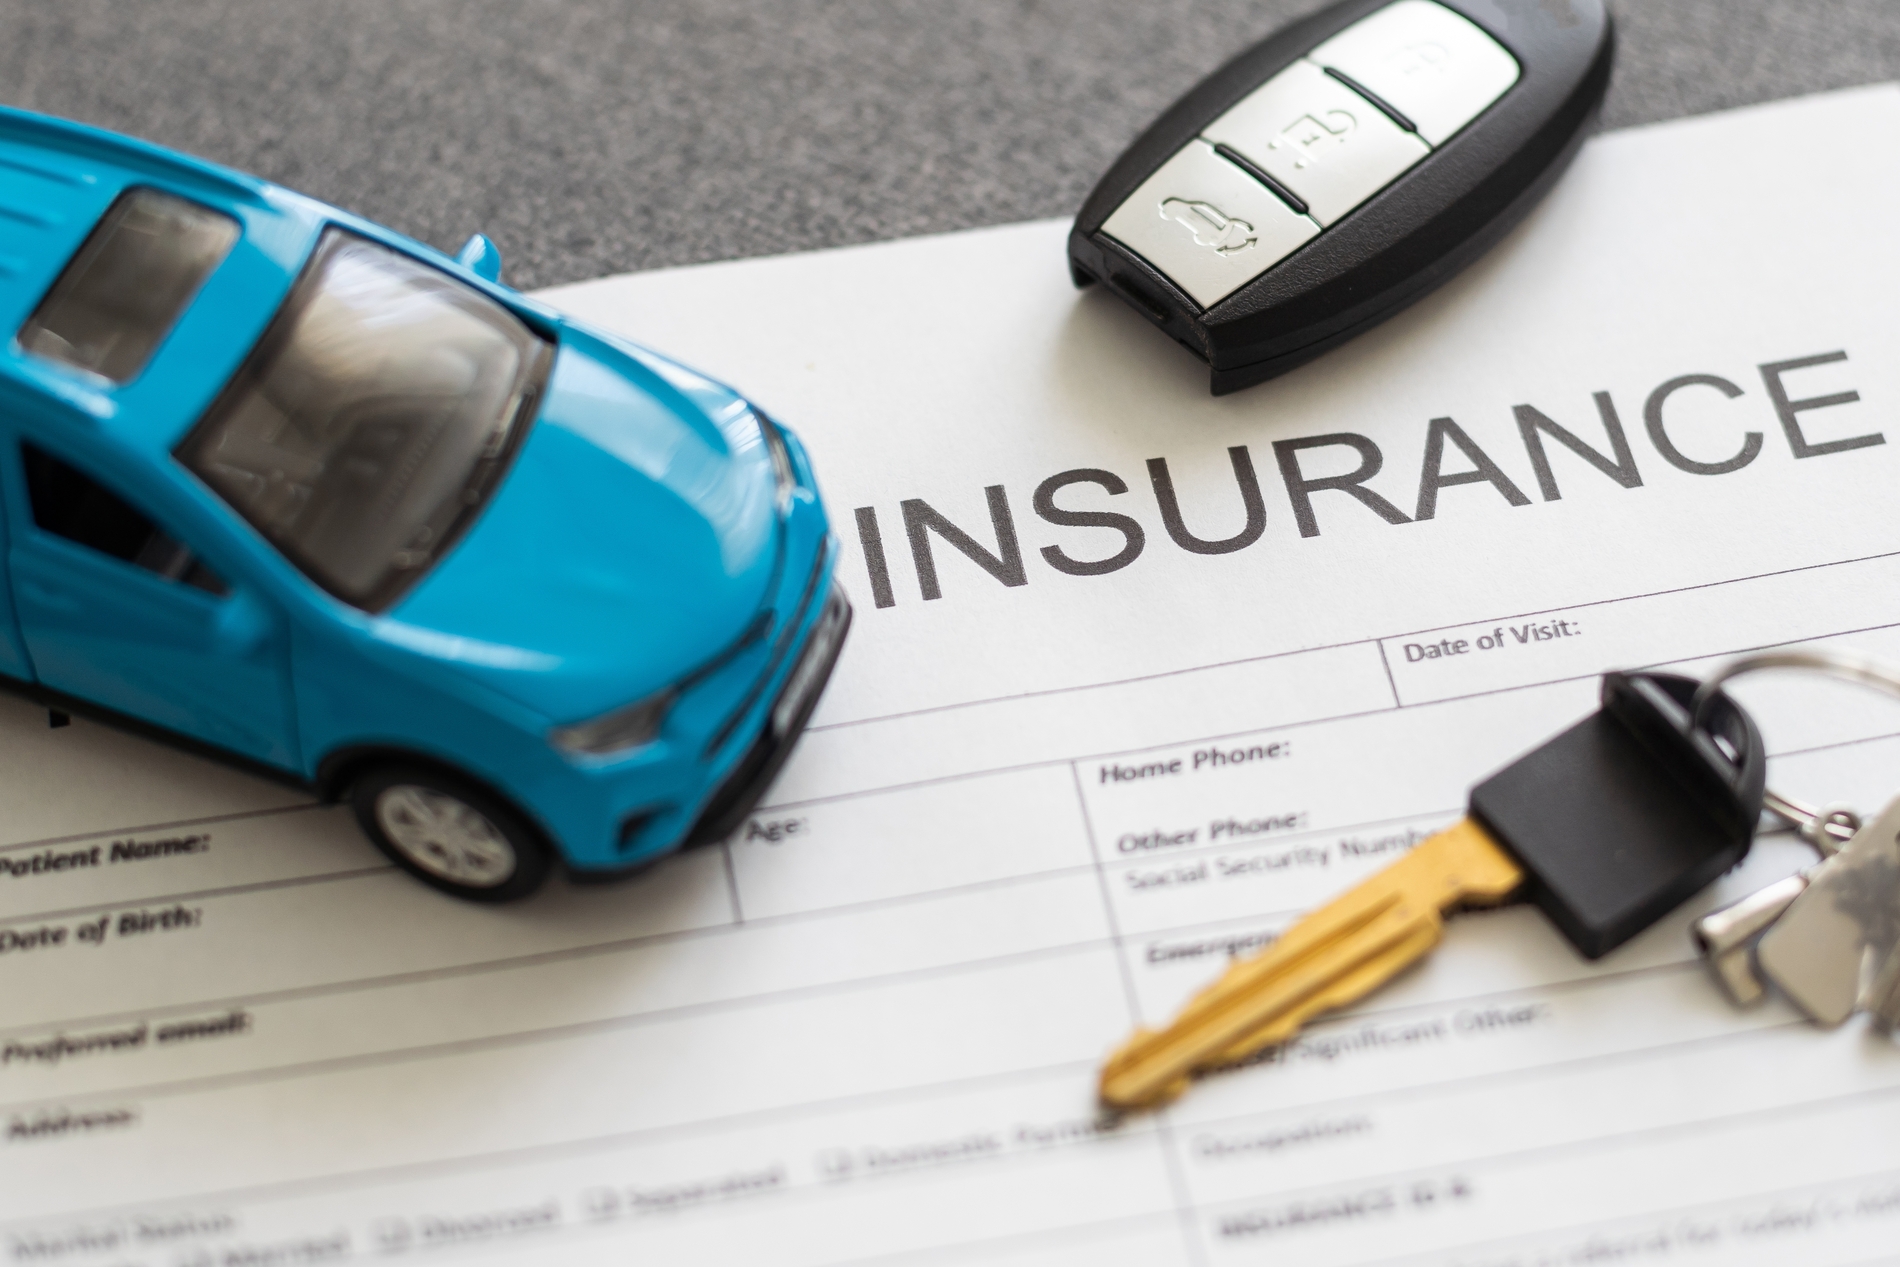
Don’t cancel your insurance. It feels like easy savings, but a lapse in coverage can cause your provider to raise your rates when you reinstate, which often costs more than the money you saved. Plus, a stored car isn’t risk-free. Theft, fire, flood, and yes, rodent damage can all happen to a parked vehicle.
Talk to your insurance provider about your options. Some offer reduced “storage” rates that give you basic coverage at a lower premium. That’s the sweet spot to opt for.
And finally, cover the car. If it’s in a garage, use a breathable, fitted fabric cover to keep dust and scratches away. If it’s outside, you need a waterproof, breathable cover. Do not use a plastic cover as they can trap moisture and damage the paint. Make sure it fits snugly so the wind doesn’t rip it off.
Before You Drive Away Again: The Return Checklist
When the time comes to pull the car out of storage, don’t just fire it up and floor it. Take five minutes to go through these basics:
- Check under the hood for any signs of rodent mischief, such as chewed wires, nests, or damage to hoses and belts.
- Remove any plugs you placed in the exhaust or air intakes.
- Check tire pressure and inflate to the recommended specs.
- Inspect fluid levels and top up anything that looks low or discolored.
- Reconnect the battery if you disconnected it, and make sure the terminals are clean.
- Check the brakes. However, some light surface rust on the rotors is normal and will clear up after a short drive.
- Inspect the wiper blades for cracking or brittleness.
- Start the car, let it idle for a few minutes to get oil circulating, and listen for anything unusual before you head out.
Do it right, and your car will come back to life like it never left. A little effort before storage is nothing compared to the bill you’d face otherwise.