How to Charge Your EV Safely at Home
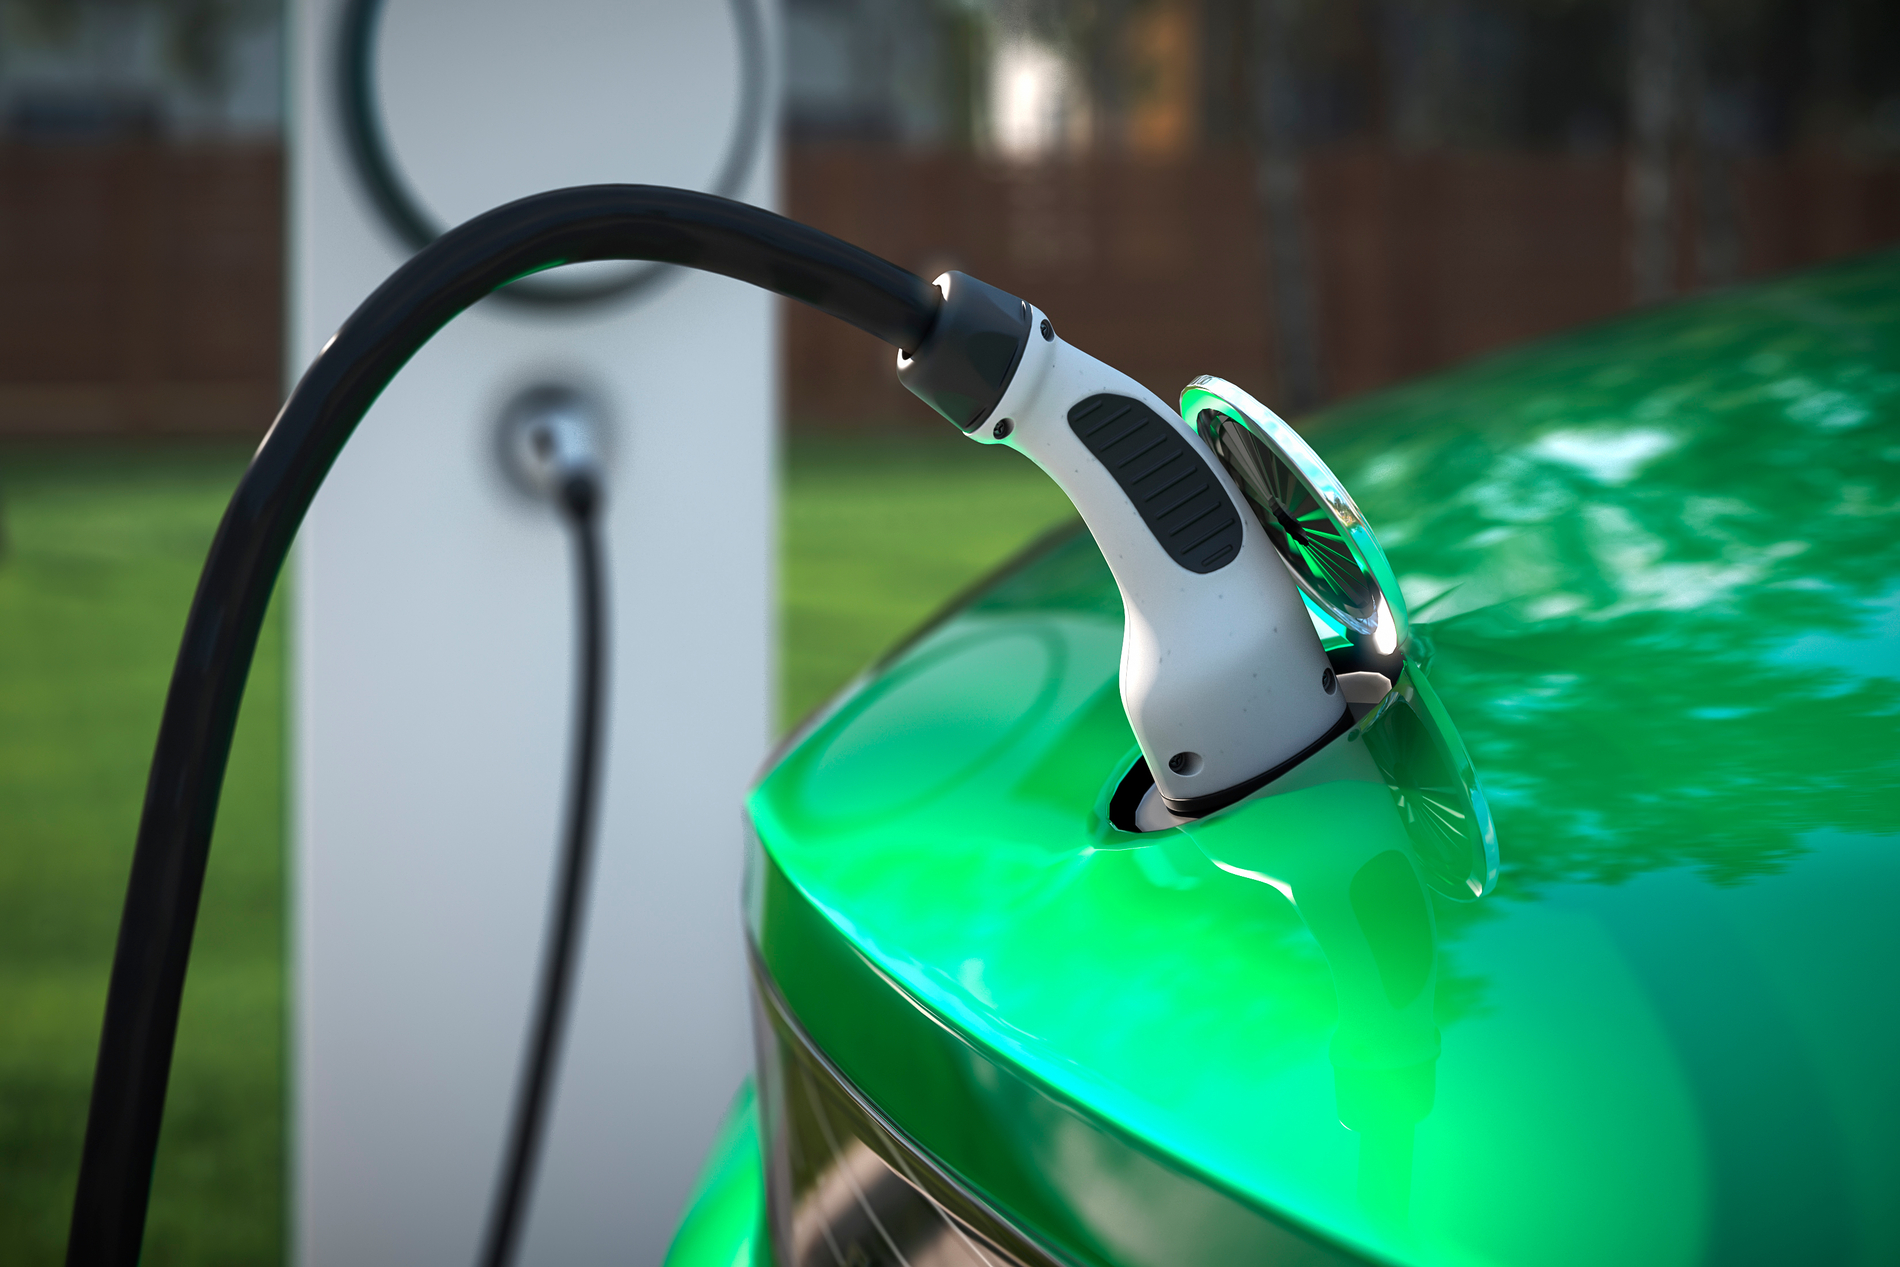
Here’s how to keep your EV happy, safe, and fed.
Most electric vehicle owners prefer charging at home. So essentially, the home becomes the EV gas station, having the outlet, circuit, adapter, and cable. This guide will teach you about what you need to charge safely, cheaply, and without problems.
Step 1: Check Your Electrical Panel First
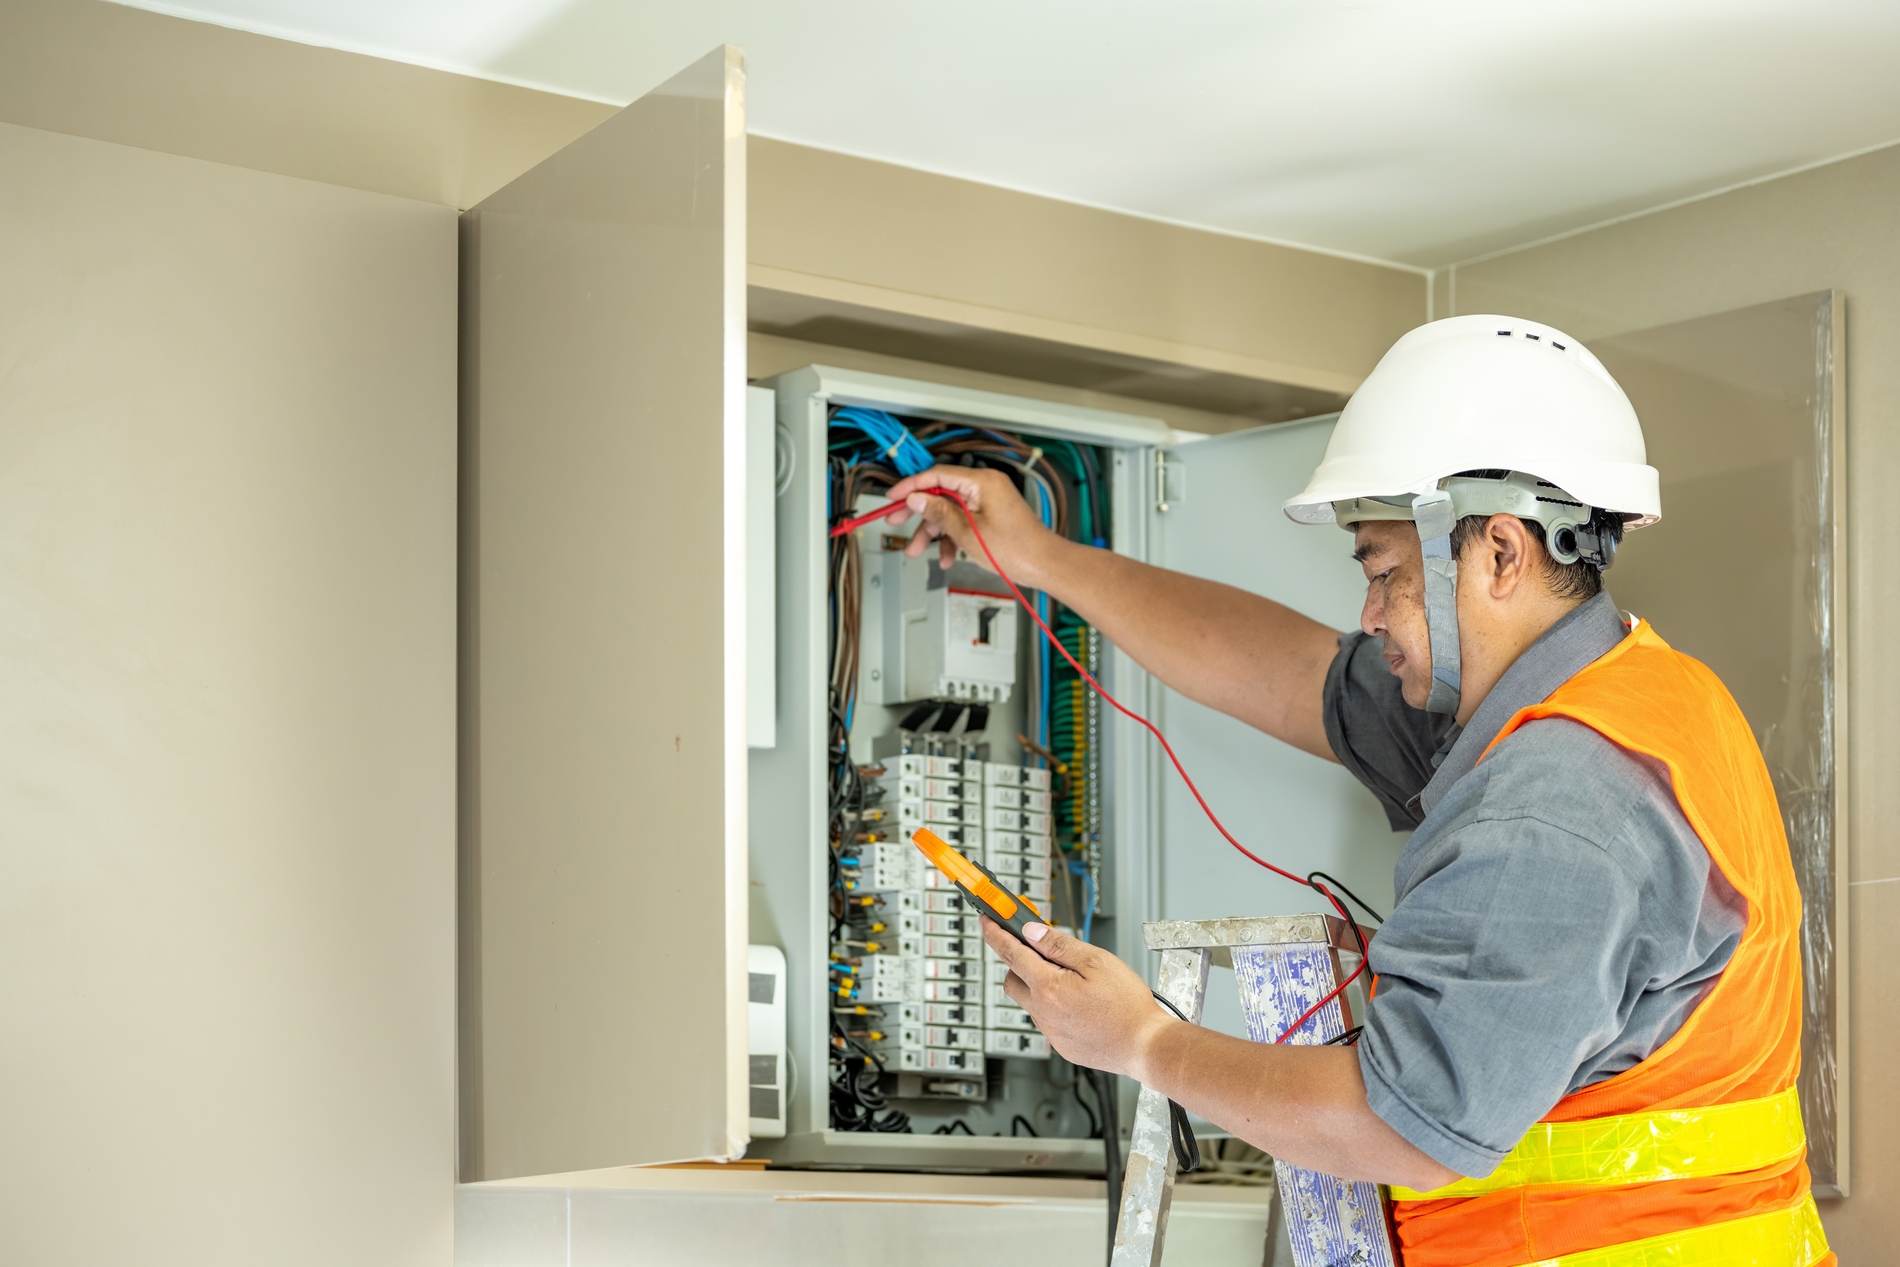
Before you buy a charger or call an electrician, go look at your home’s electrical panel. It’s the metal box with all the breakers. You need to know your panel’s service capacity.
Most older homes run on a 100-amp panel. Newer homes are usually on 200 amps. A Level 2 home charger needs a dedicated 40–50 amp circuit. If your panel is already full or running on old 100-amp service, you may need a panel upgrade before installing the charger.
Don’t try to figure this out yourself. Call a licensed electrician.
Step 2: Understand the Two Charging Levels for Home Use
Level 1 – Slow but Free (120V Standard Outlet)
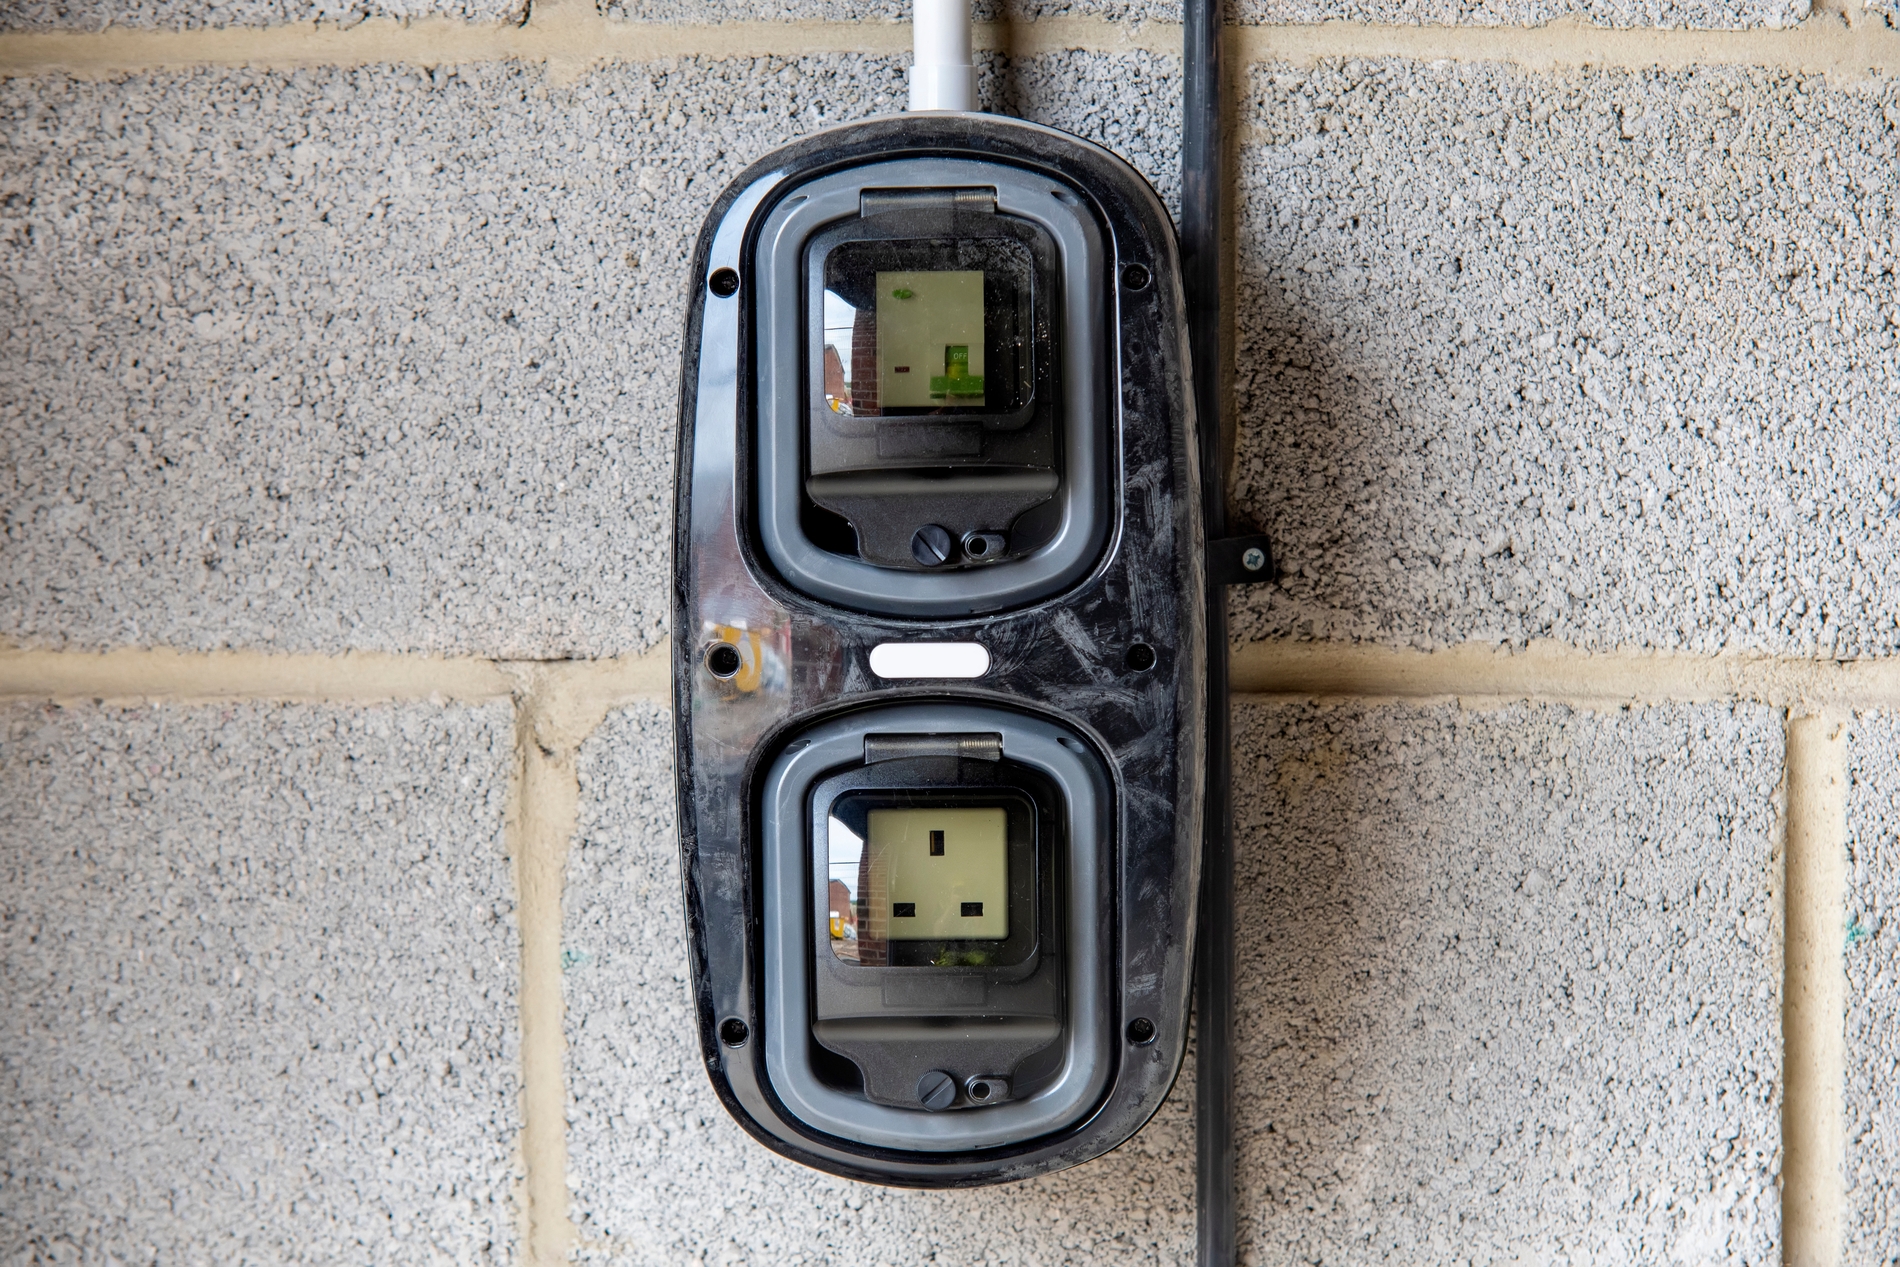
This uses the same outlet you plug a lamp into. No installation is needed; use the charging cord that came with your car.
- Adds about 3–5 miles of range per hour
- Works fine for plug-in hybrids or drivers who commute under 40 miles a day
- For an all-electric vehicle, it can take 40+ hours to fully charge from empty
Level 2 – The Right Choice for Most EV Owners (240V)
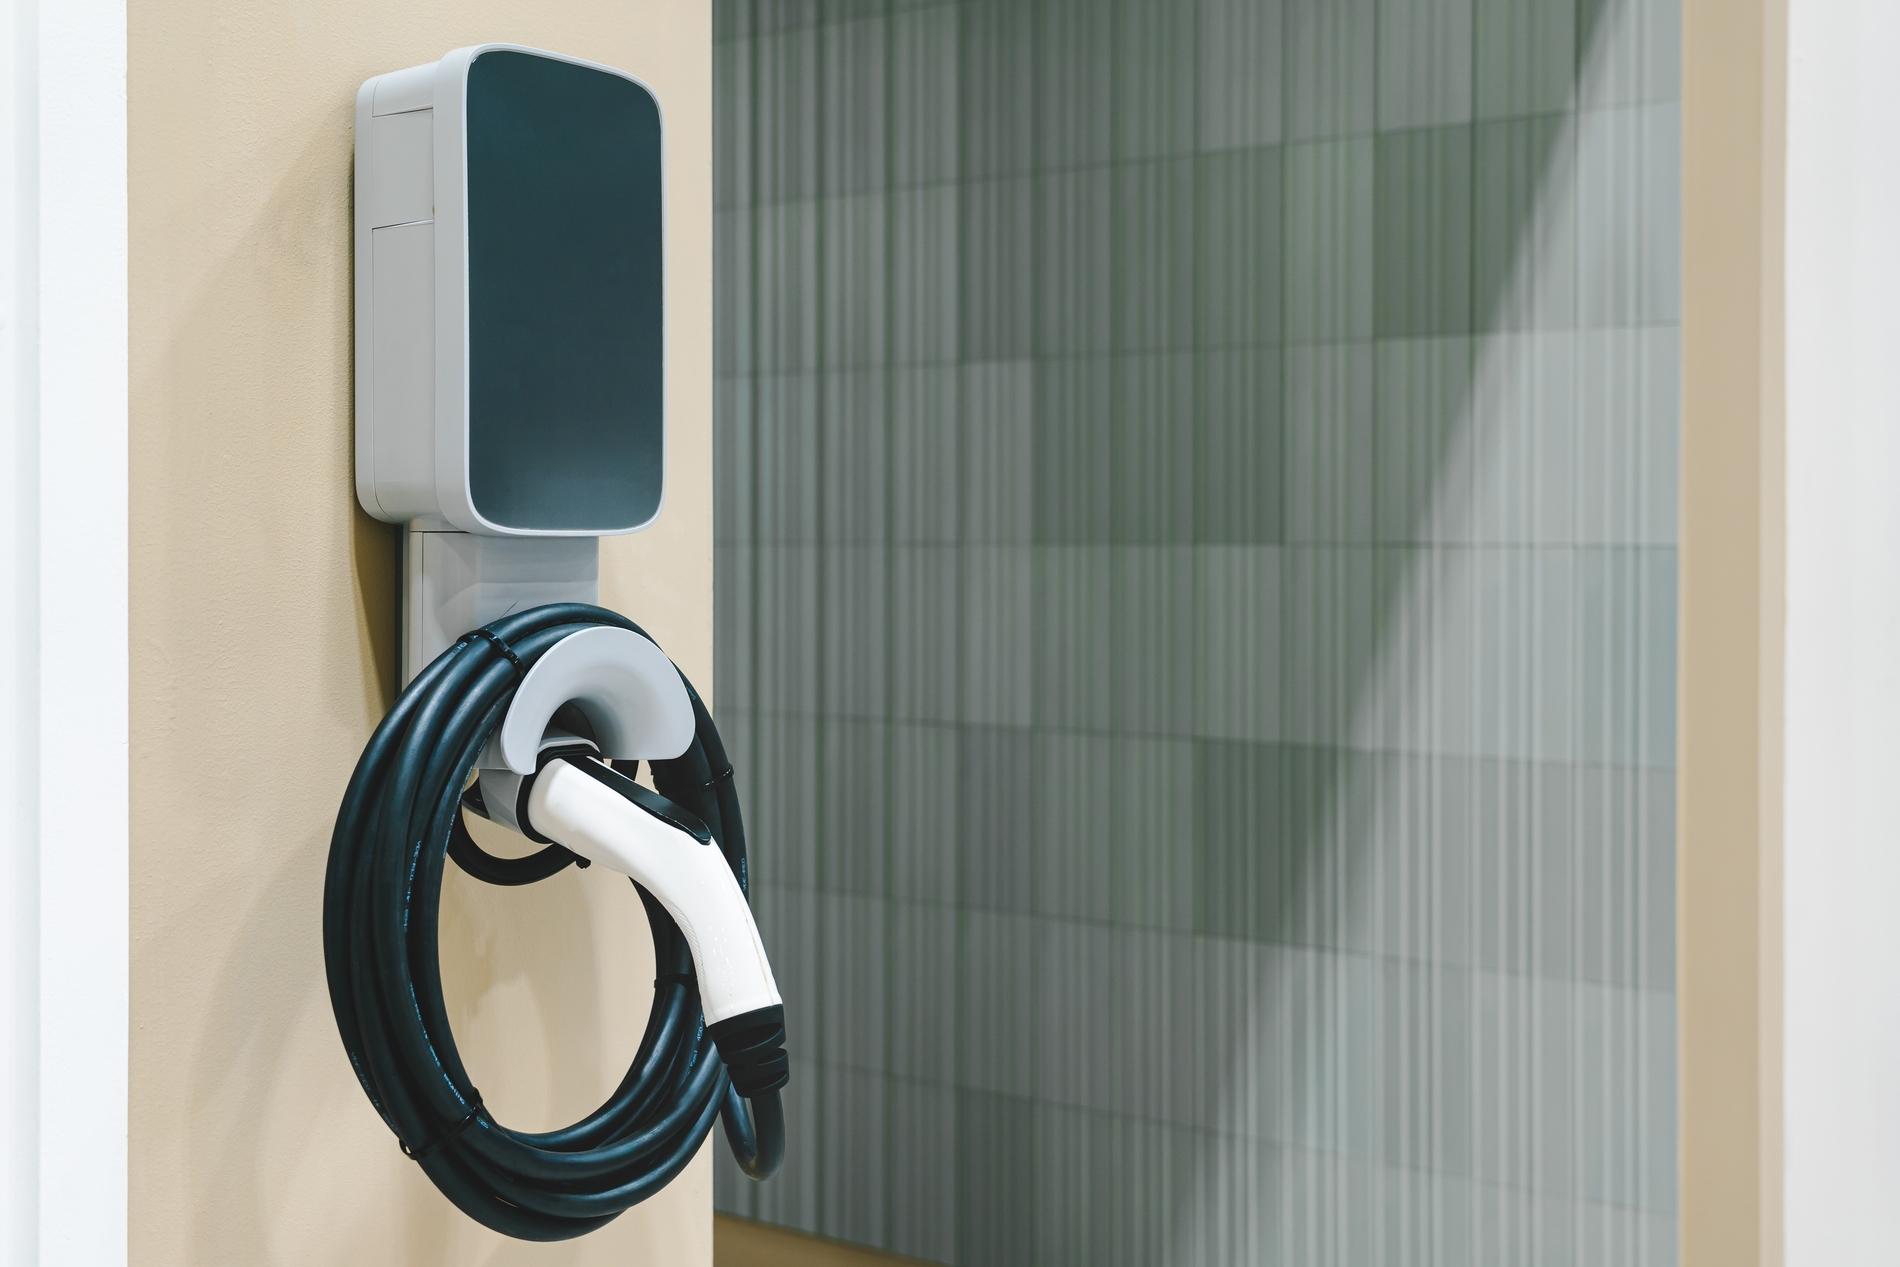
This is what most people install at home. It runs on the same voltage as your dryer or electric range. You’ll need a professionally installed outlet or wall unit.
- Adds about 15–30 miles of range per hour
- Most EVs charge fully overnight in 4–8 hours
Step 3: Know What Plug Your Car Uses
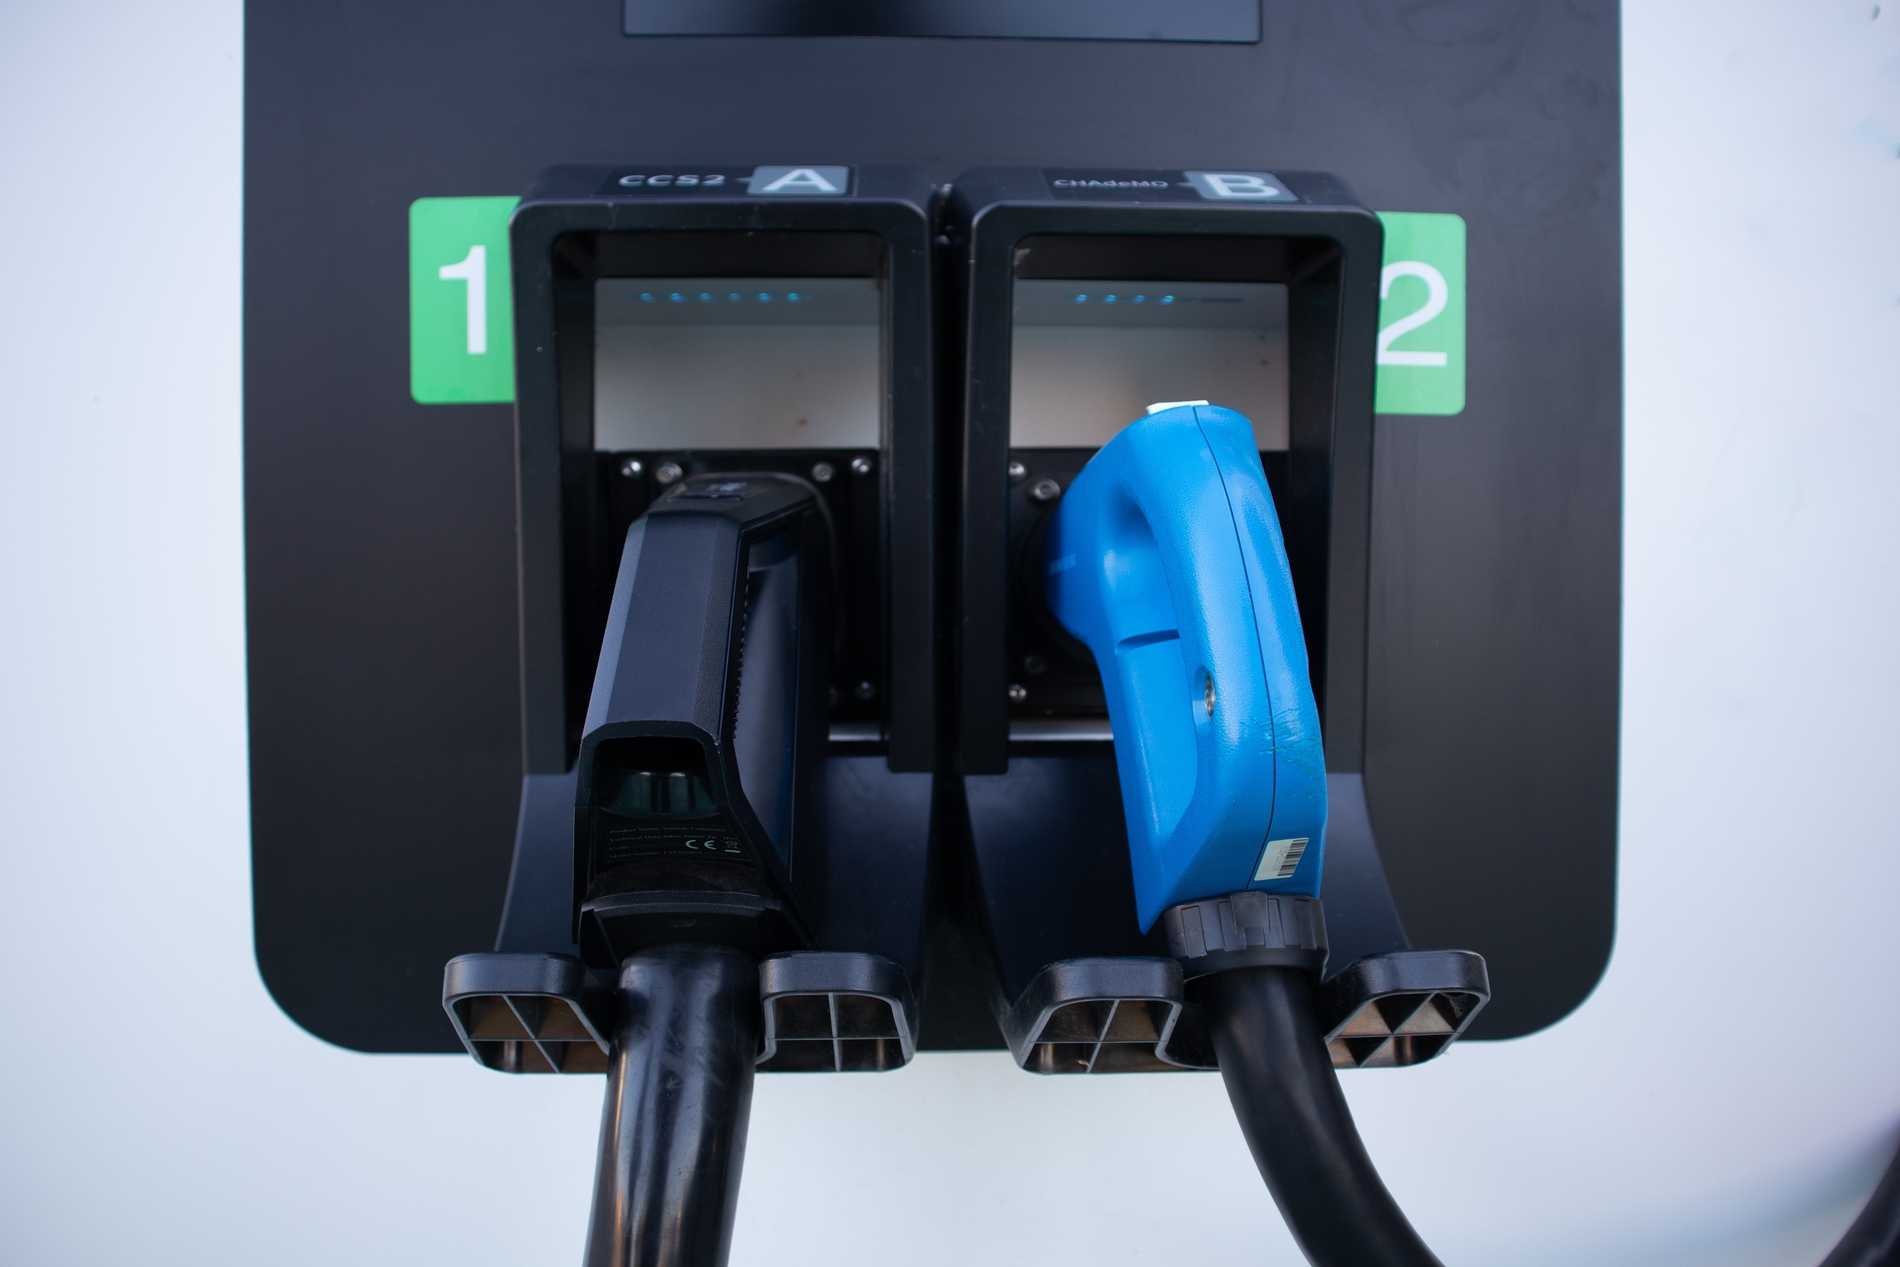
Not all EVs use the same connector. Here are the ones that matter for home charging in America:
-
J1772
It is a round, 5-pin connector used by most non-Tesla EVs bought before 2025. If your car isn’t a Tesla and isn’t a brand-new model, this is probably what you have.
-
NACS (North American Charging Standard)
Originally Tesla’s connector, now adopted by almost every major automaker for 2025 and newer models. Ford, GM, Rivian, BMW, Toyota, Hyundai, Kia, Honda, and more have all switched. It handles Level 1, Level 2, and fast charging through a single plug. If your car is 2025 or newer, check your manual. There’s a good chance this is what you have. Your car’s charge port can tell you which connector you need.
Step 4: The One Rule for Adapters
Tesla includes a J1772 adapter so their cars can use standard Level 2 stations. Ford provided NACS adapters for 2024 models. These OEM adapters work well and are safe.

The one rule is to use adapters from your car manufacturer or the charging network. Never buy a cheap, unbranded adapter online. Off-brand adapters for high-voltage charging pose a fire and damage risk.
Step 5: Hire a Licensed Electrician. Don’t Skip This.
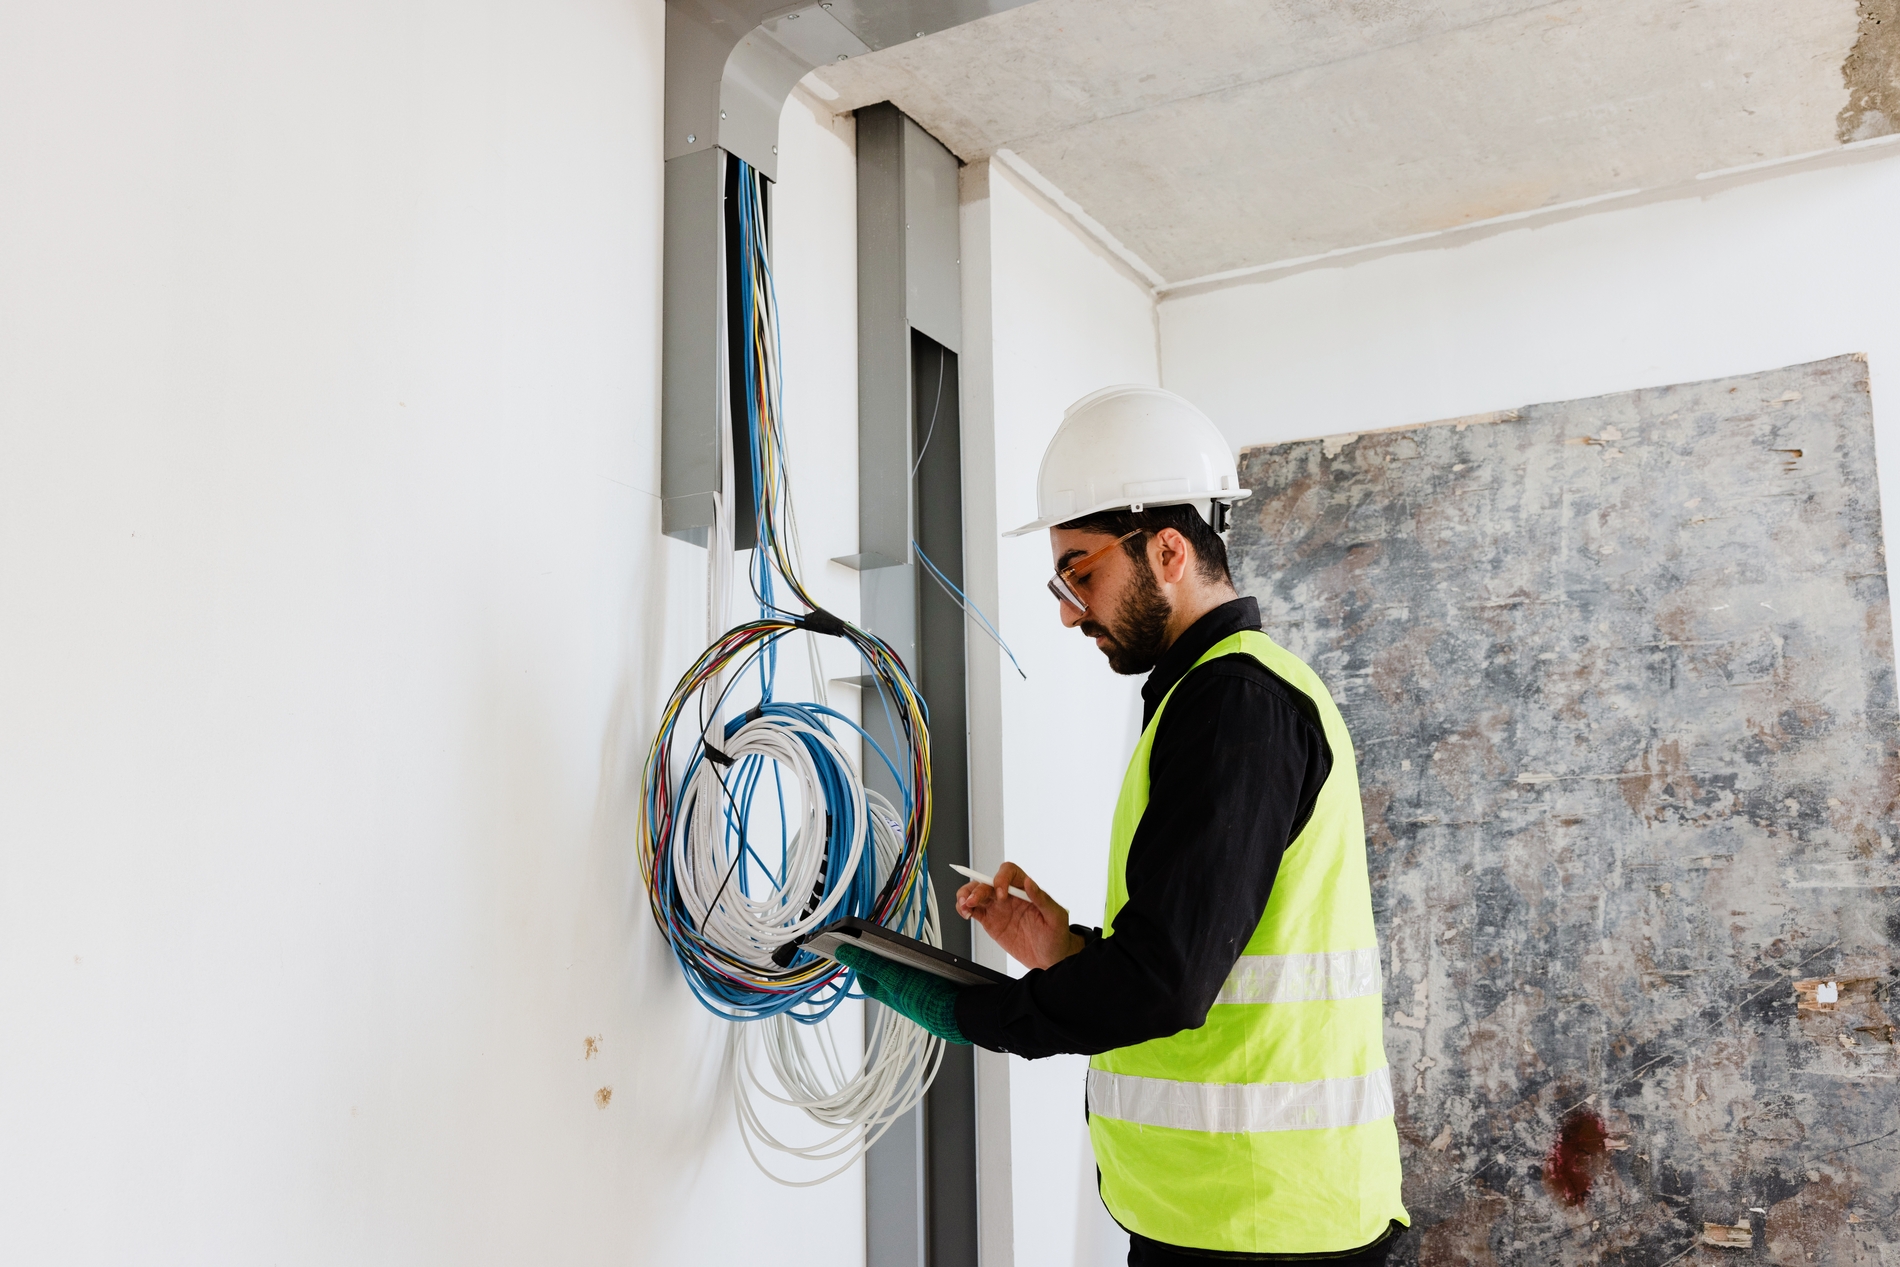
Installing a Level 2 charger is not a DIY job. A licensed electrician will:
- Confirm your panel can handle the load
- Run a dedicated circuit from your panel to your parking spot, as the charger cannot share a circuit with other appliances, by law (NEC Article 625)
- Use the correct wire gauge so nothing overheats
- Handle GFCI protection and any required permits
- Make sure everything meets local electrical code
A DIY install can void your home insurance, void your charger warranty, and in a worst-case scenario, start a fire inside your walls.
Step 6: How to Plug In
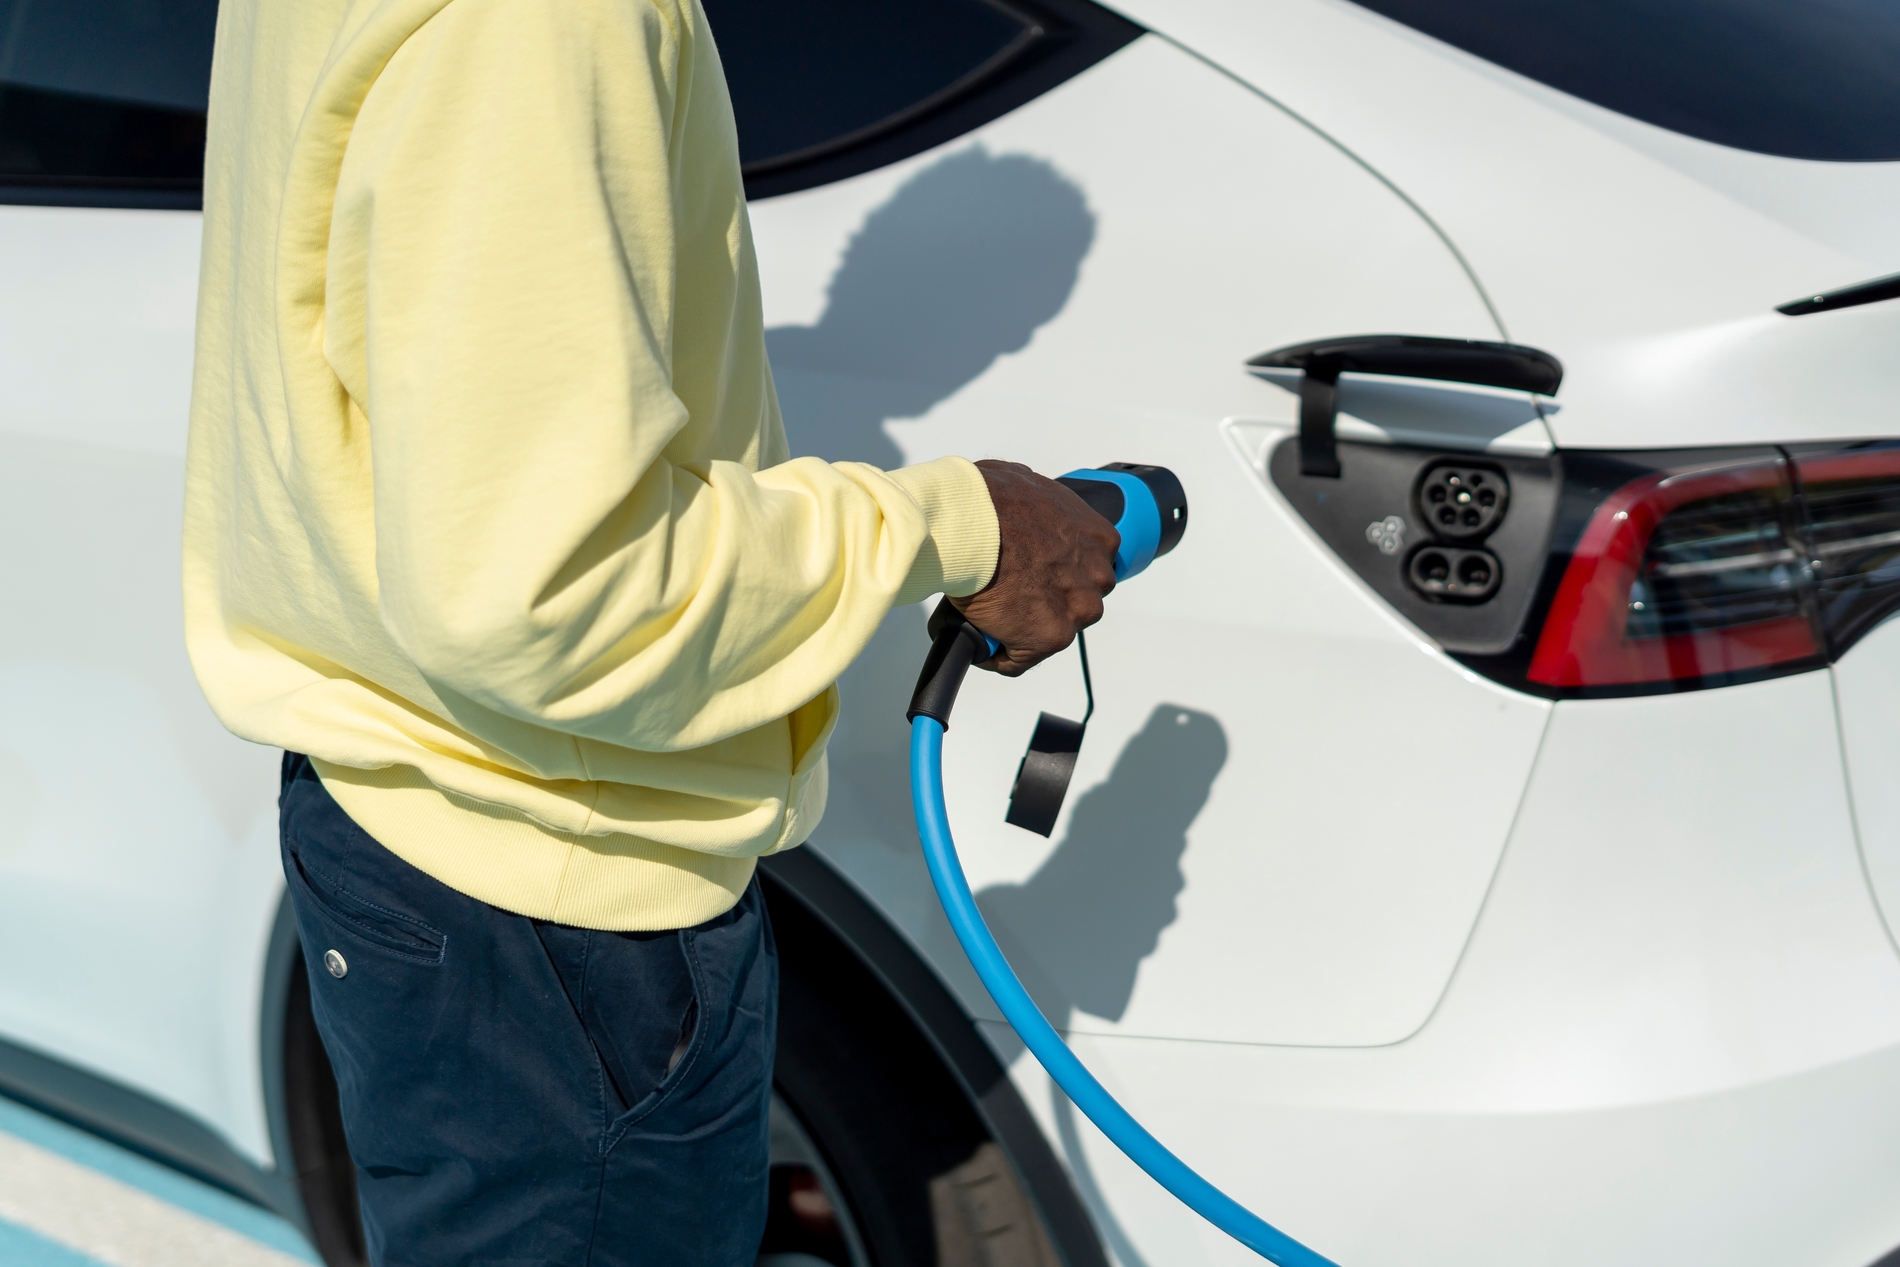
Once your setup is ready, the daily routine is easy and the same:
- Park close enough so the cable reaches without stretching. A cable under tension wears out connectors.
- Shift into Park and turn off the car. Most chargers won’t activate if the car is still powered on.
- Open the charge port door. It’s usually on the rear quarter panel. Some open automatically when you approach with the cable; others need a button press.
- Insert the connector firmly until you hear or feel a click. That click means it’s locked and ready. If it doesn’t click, remove it and try again, but never force it.
- Confirm charging has started. Check the dashboard, the charger’s status light, or your app. A green light means charging. Solid red or no light means something’s wrong.
Step 7: Set Your Daily Charge Limit to 80%
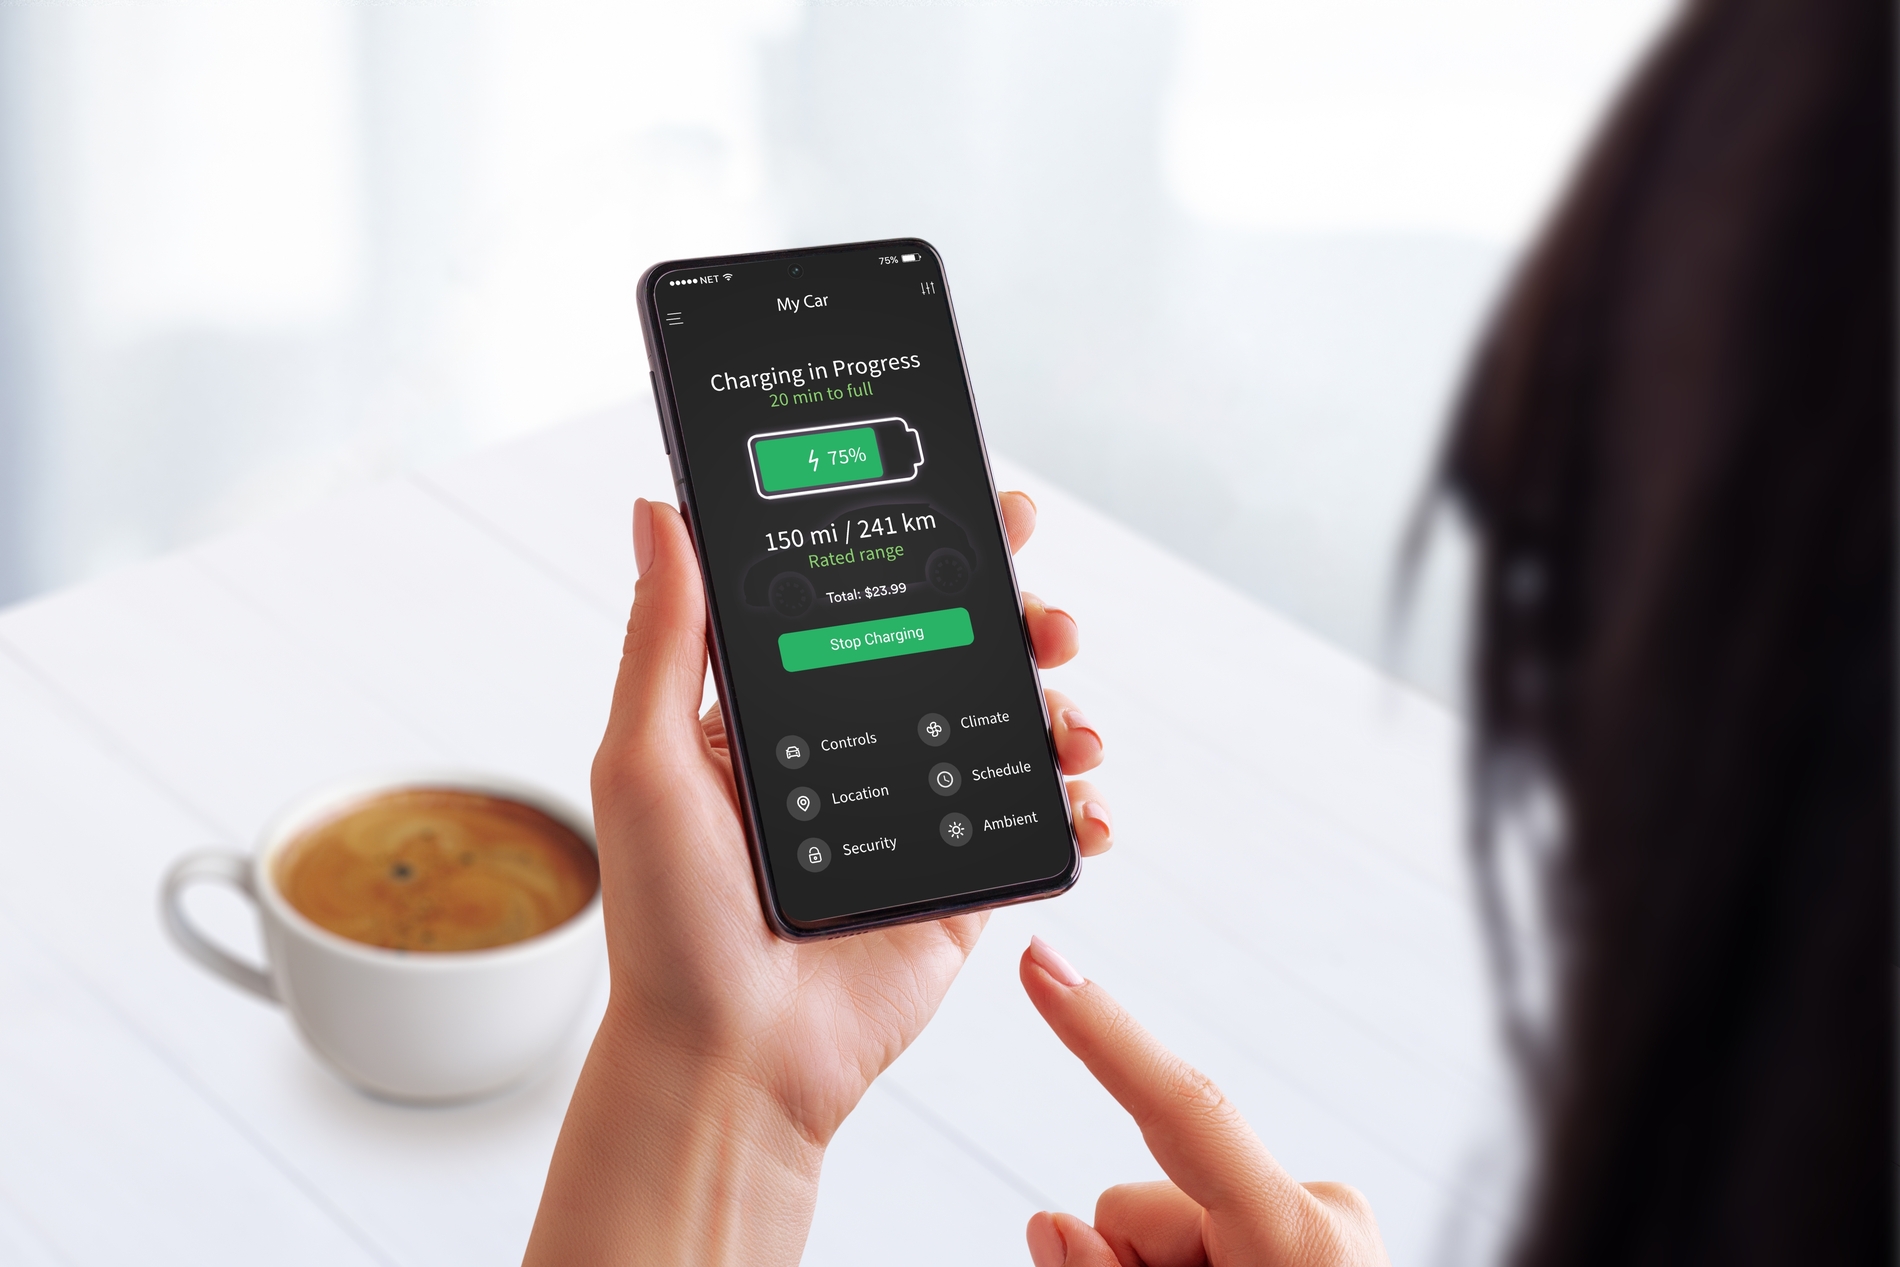
This is one of the most important battery tips and one of the least talked about.
Regularly charging to 100% accelerates battery degradation over time. Most manufacturers recommend keeping your daily limit at 80% for everyday use. Only go to 100% before a long road trip.
Your car’s app or touchscreen will have a charge limit setting. Set it to 80%. It takes about 10 seconds and can save you thousands $$$ in battery replacement costs over the life of the car.
Note: Some newer models are exceptions, such as the 2027+ Chevy Bolt, for example, which is designed to charge to 100% regularly. Always check your specific owner’s manual.
Step 8: Schedule Charging for Off-Peak Hours
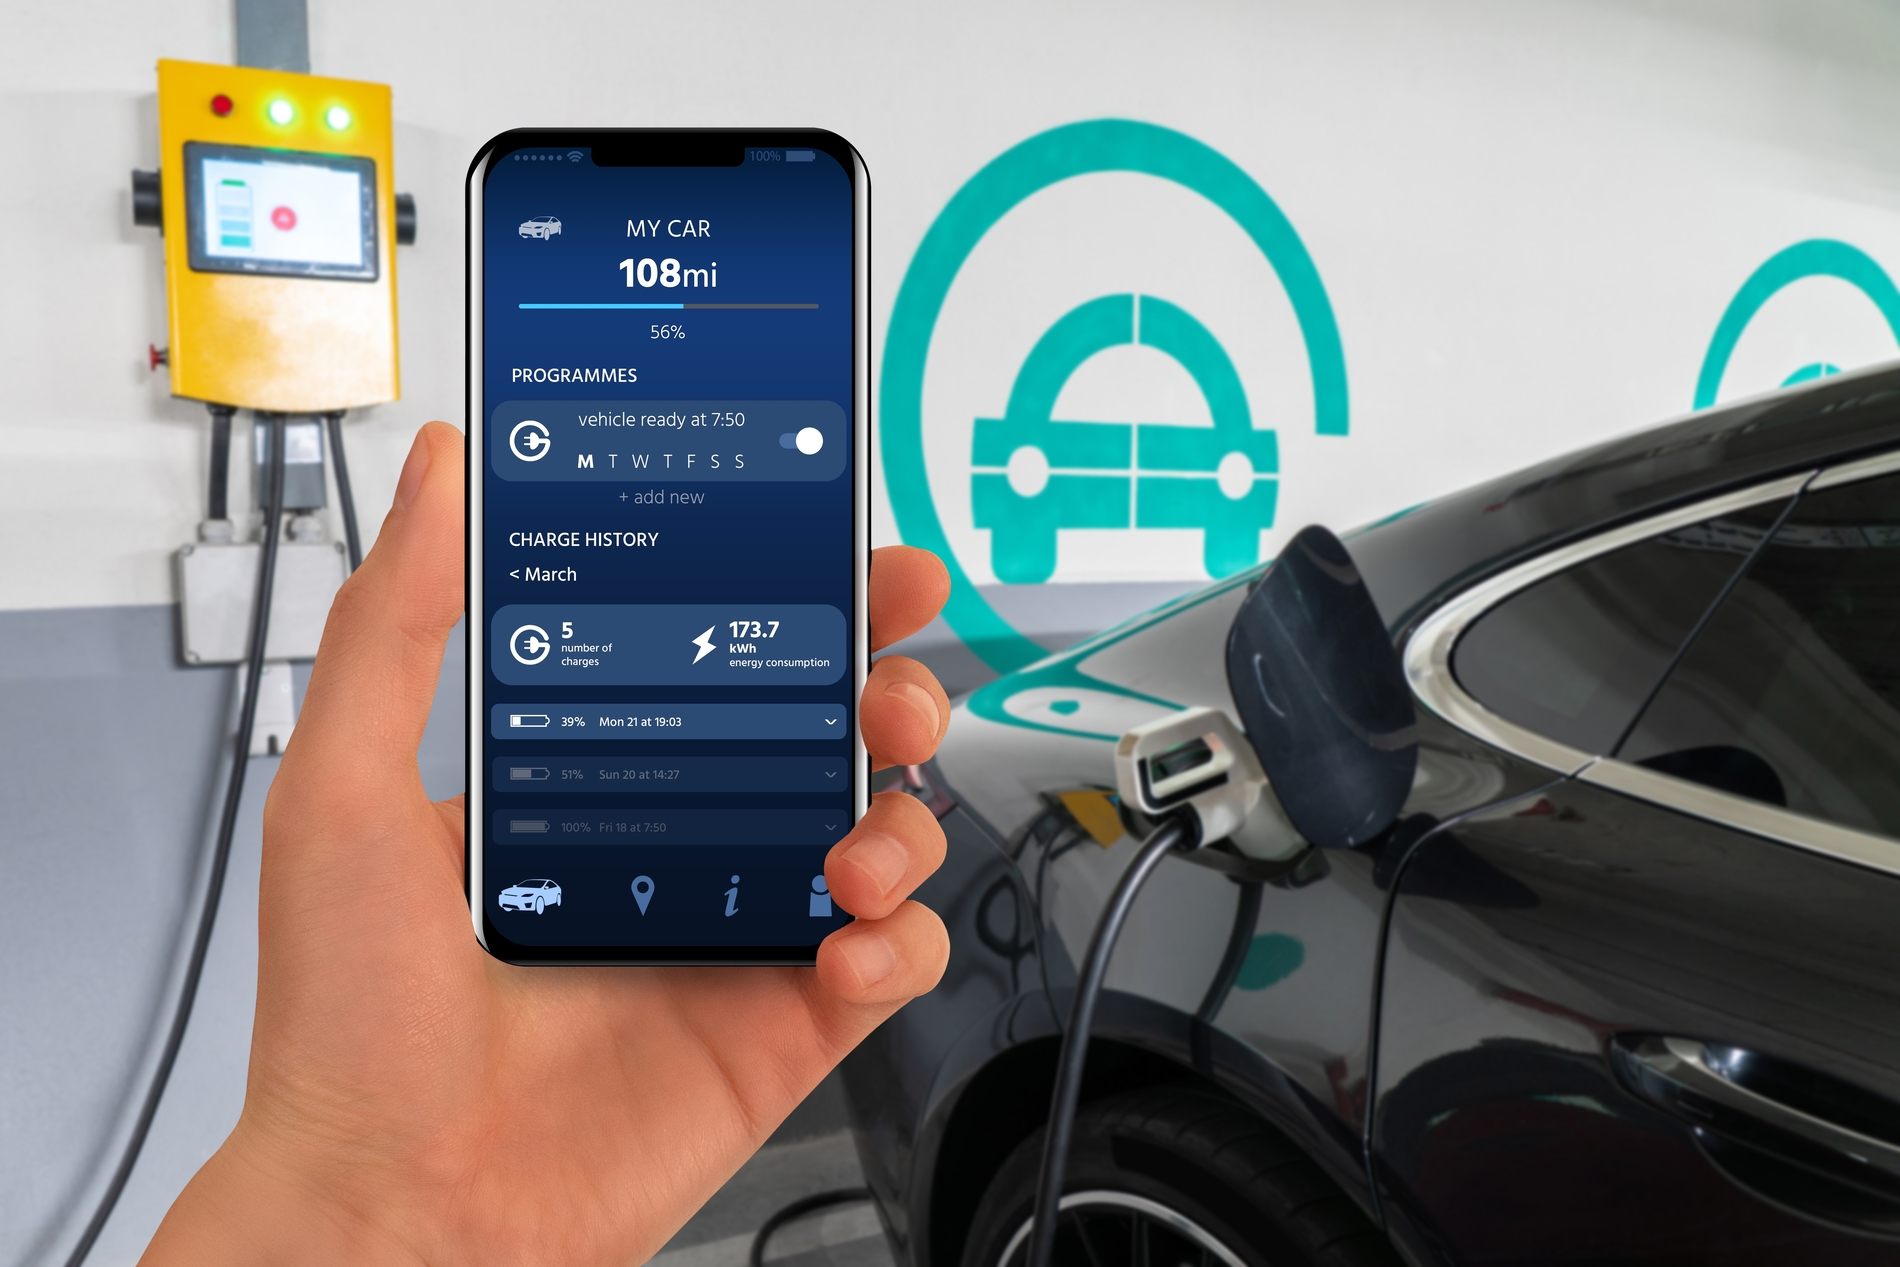
Electricity is cheaper at night, usually between 11 PM and 7 AM, when grid demand is lowest. Most EVs and Level 2 chargers let you schedule a start time, so charging only kicks in when rates drop.
Set it in your car’s charging menu or your charger’s app. Also, check if your electricity provider offers an EV-specific Time-of-Use rate plan. Enrolling in one can cut your charging costs by 30–50%.
Step 9: Monthly Safety Check and Warning Signs
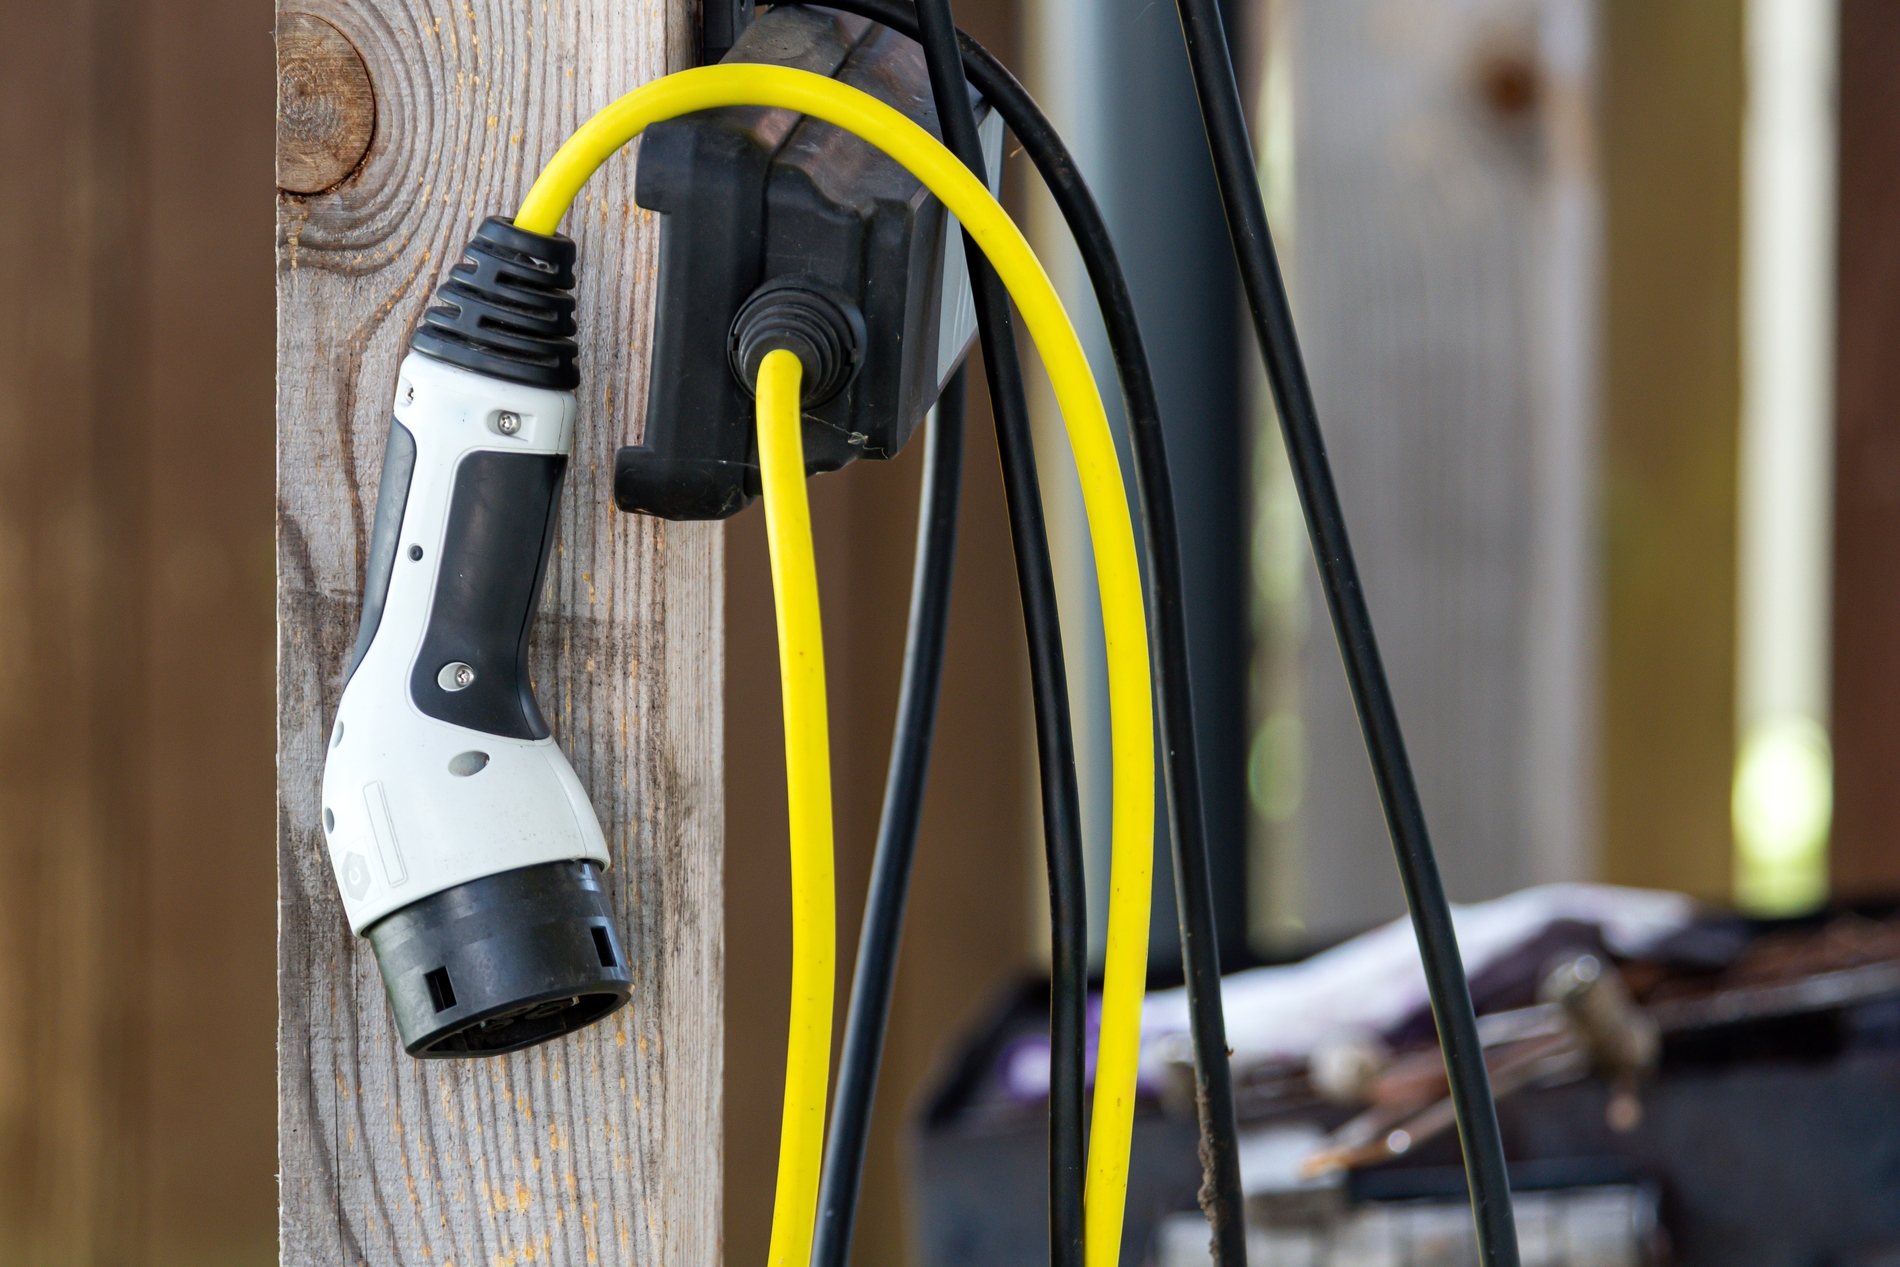
Once a month, take two minutes to look at your cable and connector. Check for cracks, cuts, or kinks in the cable, burn marks or discoloration near the connector pins, and any bent or corroded pins inside the connector. Also, store the cable in wide, loose loops because coiling it too tightly damages the internal wiring over time.
Stop charging immediately and call an electrician if you notice any of these:
- A burning smell during or after charging
- The connector feels hot to the touch
- Your breaker trips repeatedly during charging
- Sparks when connecting or disconnecting
- Do not charge your car if it has been through a flood; get it inspected first
Wrapping Up
You already know it all now. Set up your Level 2 charger once, configure your 80% limit and schedule, do a quick cable check each month, and home charging becomes the most effortless part of owning an EV.