How to Flush Your Car’s Cooling System: Step-by-Step Guide
A neglected cooling system can turn into a roadside breakdown any unexpected day.
Coolant does more than keep your engine from freezing in winter. It also carries away the heat your engine produces so it can run at a stable, efficient temperature all year round. Over time, that coolant breaks down, loses its protective properties, and can even become corrosive.
To avoid trouble, flush the cooling system from time to time to remove the old fluid and any buildup, then replace it with fresh coolant. This guide explains when flushing is needed, what to check before you start, and how to do the job correctly and safely.
Why Your Cooling System Needs Flushing
Your car’s cooling system is a closed loop. Coolant flows from the radiator through the engine block, picks up heat, passes through the heater core, and returns to the radiator to cool down again before repeating the cycle.
Over time, heat weakens the coolant, so rust and mineral deposits start to build up inside the radiator, hoses, and water pump. This buildup can reduce cooling efficiency and cause problems like overheating, water pump failure, or a clogged heater core.
Flushing the cooling system removes this buildup and gives the new coolant a fresh start, helping protect the engine and keep it running at the right temperature.
Signs Your Car Needs a Coolant Flush
Older coolant needs replacing every 2–3 years or 30,000 miles, while modern coolant can last 5+ years or 100,000 miles, but a few warning signs mean you should not wait:
- The coolant in the reservoir looks rusty or cloudy instead of clear and brightly colored.
- The temperature gauge shoots higher than normal during regular driving.
- The heater blows cool or lukewarm air instead of hot air.
- The coolant has passed its age limit listed in your owner’s manual.
Know Your Coolant Type Before You Start
Before buying anything, confirm which of the three main coolant families your vehicle uses:
- Inorganic Additive Technology (IAT): The traditional green coolant. It protects older metal cooling systems well but needs replacing every two to three years.
- Organic Acid Technology (OAT): Used in most vehicles built since the mid-1990s. It lasts longer than IAT but is not recommended for older copper or brass radiators.
- Hybrid Organic Acid Technology (HOAT): A blend designed to be compatible with both older and newer systems, often labeled as “universal” or “all makes.”
Caution: Never mix IAT and OAT coolant. When combined, they can form a thick, gel-like substance that blocks coolant flow and causes overheating. Check your owner’s manual to confirm the coolant type, since color is not a reliable way to identify it.
Tools and Supplies You’ll Need
- New coolant bottles
- A drain pan large enough to hold your system’s full capacity
- Wheel ramps or jack stands
- A socket wrench, pliers, or a flat-head screwdriver
- A funnel
- Rubber gloves and safety glasses
- Shop rags or old towels
- A chemical radiator flush
- Sealed containers for the old coolant, for recycling
How to Flush Your Car’s Cooling System, Step by Step
Once you have your supplies and know your coolant type, follow these steps in order.
Step 1: Let the Engine Cool Completely
Park on level ground and pull the parking brake. Confirm the engine has been off long enough for the radiator and hoses to be cool to the touch.
Step 2: Locate the Drain
Wear gloves and eye protection. Open the hood and find the radiator, usually the widest part of the cooling system at the front of the engine bay. Locate the drain valve, sometimes called a petcock, at the bottom of the radiator. If you need more room to work, raise the front of the car on ramps or jack stands. Slide your drain pan underneath the valve before you open anything.
Step 3: Drain the Old Coolant
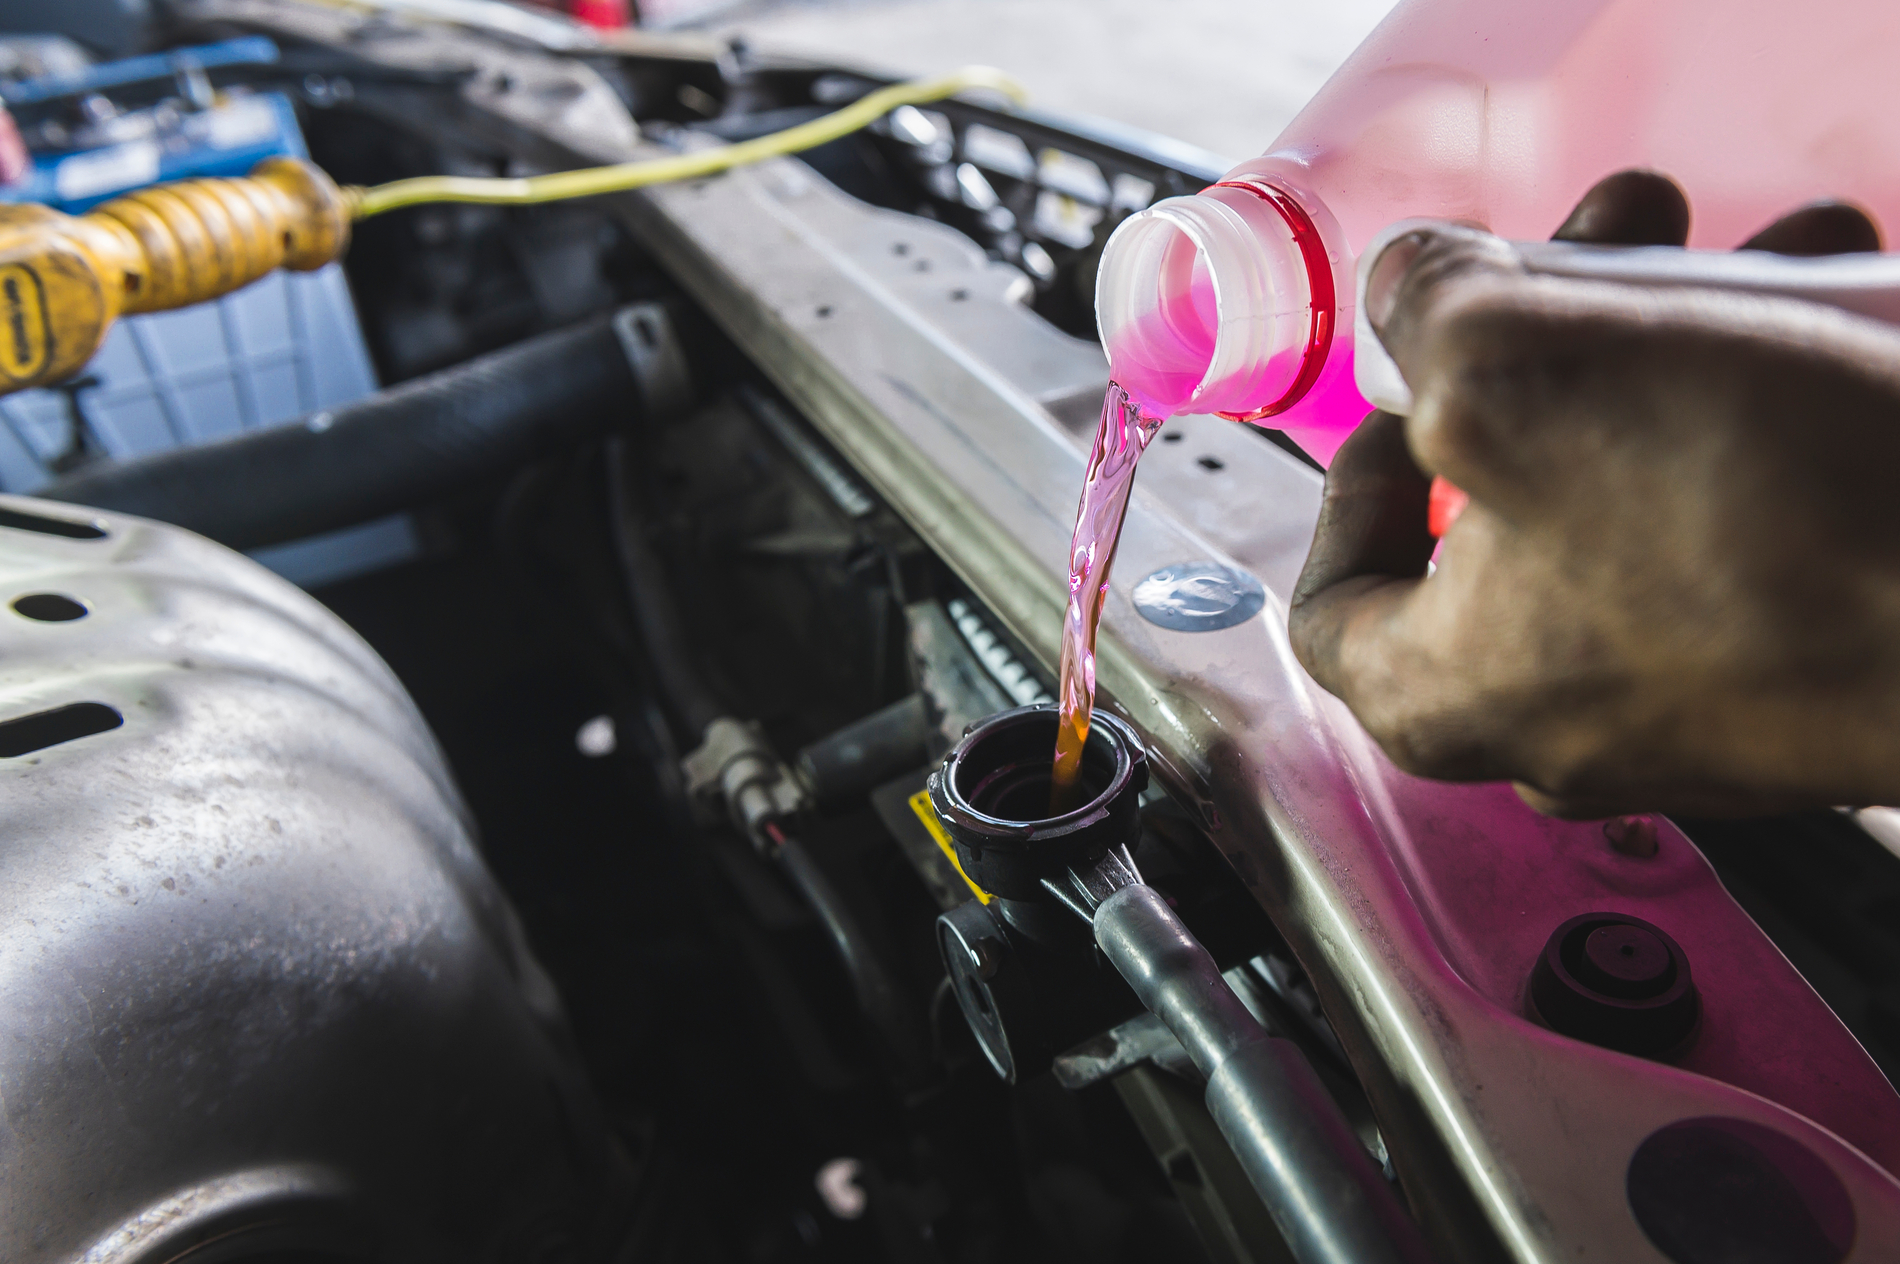
Remove the radiator cap first, but never open it while the engine is warm. Place a thick towel over it and turn it slowly to the first stop to release any remaining pressure before turning further to remove it. This helps the coolant drain completely and faster. Open the drain valve and let the old coolant flow into the pan. Some vehicles also have a separate drain plug on the engine block; check your owner’s manual and open this too if it is present, since a large portion of the coolant otherwise stays trapped in the block. Once the flow slows to a drip, close the valve and plug securely.
Step 4: Flush the System With Water
Fill the radiator with distilled water or a chemical flush mixed with water, then tighten the cap. Start the engine and turn the heater to its highest setting so the heater core gets flushed as well. Let the engine run until it reaches normal operating temperature, which allows the thermostat to open and circulate the water through the entire system. Turn off the engine, let it cool again, and drain the water the same way you drained the coolant in Step 3. Repeat this fill-and-drain cycle twice more if the water comes out rusty.
Step 5: Refill With Fresh Coolant
Close the drain valve and plug tightly. If you are using concentrate, mix it with distilled water in a 50/50 ratio unless your owner’s manual specifies a different ratio for your climate. Pour the coolant in slowly to avoid trapping air, filling the radiator to the base of the filler neck. Drain and rinse the overflow reservoir if it still has old coolant residue, then fill it to the marked cold-fill line.
Step 6: Bleed the Air and Finish Up
Trapped air can cause overheating and poor heater performance, so this step matters. Leave the radiator cap off or loose, start the engine, and turn the heater on high. As the thermostat opens, air pockets will work their way out, and the coolant level will drop. Top it off as needed. If your vehicle has a bleeder screw at a high point in the system, check your manual for its location and open it briefly to release trapped air. Once the level holds steady, top it off, secure the radiator cap, and take a short test drive. Check the coolant level again once the engine has cooled, and keep an eye on it over the next few days as any remaining air works its way out.
How to Dispose of Old Coolant Safely
Drained coolant is toxic and, in most areas, illegal to pour down a drain, into the ground, or into a storm sewer. Collect it in a sealed, labeled container and take it to an auto parts store, service station, or household hazardous waste facility that accepts it for recycling. If you spill any during the job, soak it up right away with an absorbent cloth or tissue and dispose of it properly as well. Keep old and new coolant sealed and out of reach of pets, since its sweet smell and taste make it appealing to animals even though it is highly toxic to them.
Closing Remarks
A cooling system flush is one of the more overlooked parts of routine car care, but it is also one of the more affordable ways to prevent an overheating engine, a failed water pump, or a blown head gasket down the road. Following your car manufacturer’s recommended coolant change interval, using the correct coolant type, and taking your time with the steps above will keep your engine sound for years to come.