How to Store Seasonal Tires Properly
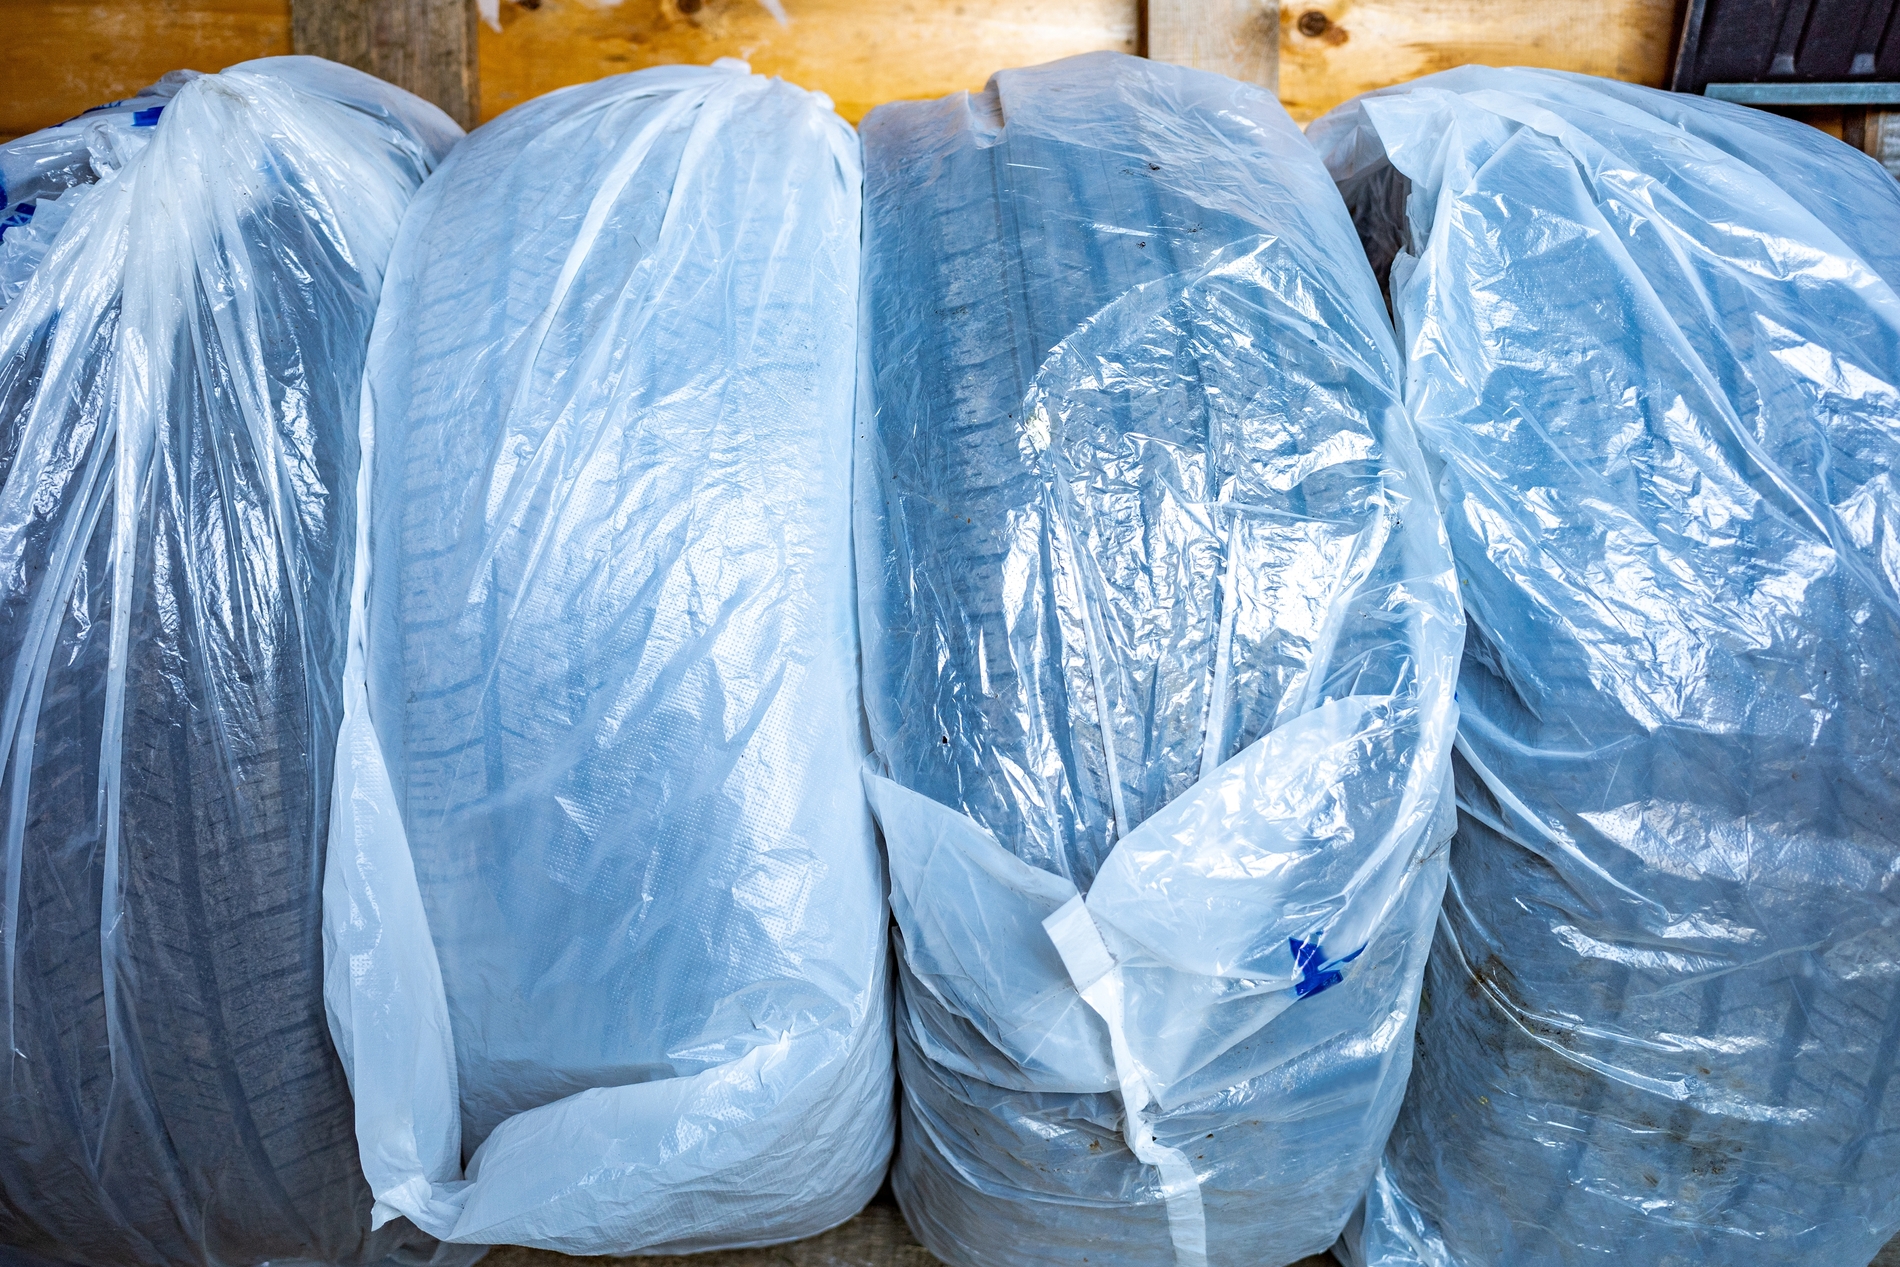
Improper storage can ruin a good set of tires before you ever get to use them again.
If you swap between summer and winter tires, or keep a spare set for a different season, you already know the drill. Tires are made of rubber, which can be damaged by heat, cold, sunlight, and moisture. Store them the wrong way, and you can end up seeing cracked sidewalls, flat spots, or a set that ages out years before its tread wears down.
This guide is all about storing the off-season tires correctly.
Step 1: Clean the Tires Before Putting Them Away
Before storing, wash each tire with mild soap and water using a stiff-bristled brush. Remove dirt, brake dust, and road grime from the treads and sidewalls. Do not use petroleum-based cleaners or anything harsh, since these can damage the rubber compound over time. Let the tires dry completely before moving on. Storing a wet tire, especially one still mounted on a wheel, can lead to rust or corrosion on the metal.
Step 2: Set the Tires to the Right Pressure
If your seasonal tires are mounted on their own wheels, inflate them to the pressure recommended in your vehicle’s manual before storing them. It helps the tire hold its shape while it sits unused. Tires can lose a small amount of air naturally over months of storage, so check the pressure again when you take them out of storage to use again.
Step 3: Inspect Before You Store
While the tires are off the car, take a few minutes to check them over. Look for cuts, cracks, bulges, or uneven wear. If you plan to put the same tires back on the same vehicle later, mark each one for its position, such as front left or rear right, so you can rotate them properly at the next changeover. Doing this inspection now, rather than waiting until next season, will help you avoid problems right before you need to drive on them.
Step 4: Choose a Cool, Dry Storage Spot
Storage location matters as much as any other step. Choose a space that is cool, dry, and shielded from direct sunlight, with as little temperature swing as possible. A basement or a climate-controlled garage works well. Attics, sheds, and uninsulated garages tend to swing between hot and cold, which is harsher on the rubber. Keep tires away from furnaces, water heaters, sump pumps, and any other equipment that generates heat or ozone, since both accelerate rubber degradation. Avoid storing them near solvents, oil, gasoline, or other chemicals, as these can also damage the rubber.
Step 5: Bag or Cover Each Tire
Wrap each tire in a heavy-duty plastic bag, a dedicated tire storage bag, or a tire tote. Push out as much air as you can before sealing it. This keeps out dust, moisture, and oxygen, all of which contribute to aging rubber. Do not apply tire shine, dressing, or gloss products before storage. These products are not designed for long-term protection and can sometimes do more harm than good to the rubber.
Step 6: Position Them Correctly
How you position the tires while storing depends on whether they are mounted on wheels.
- Tires without wheels: Stand them upright, side by side. Never stack unmounted tires flat on top of each other for long periods or hang them, as both can cause them to lose their round shape.
- Tires mounted on wheels: These can be stacked horizontally on top of one another or hung on hooks or a wall rack. Stacking or hanging is safe for mounted tires because the wheel supports the tire’s shape.
Whichever method you use, keep the tires off bare concrete or soil. Use a shelf, rack, or wooden pallet underneath them, since direct contact with concrete or damp ground can draw moisture into the tire over time.
Step 7: Rotate Their Position and Check on Them Periodically
If your tires are stacked or sitting in one spot for months, rotate their position once a month. This helps prevent flat spots from forming where the tire’s weight rests in the same spot for too long. While you are at it, take a quick look at the tires for any new cracks, bulges, or signs of pressure loss. Catching an issue mid-season is much better than discovering it right before your next changeover.
Know When to Replace Rather Than Store
Storage habits can only do so much. Every tire has a manufacture date stamped on the sidewall, usually the last four digits of the DOT code, showing the week and year it was made. Even a tire with plenty of tread left can become unsafe simply due to age, as the rubber compound hardens and weakens over the years, regardless of use. Most tire manufacturers recommend replacing tires after 6 to 10 years, so it is worth checking the date code each time you store or remount a set, not just the tread depth.
Click here to master reading tire sidewalls.
Quick Recap
- Clean each tire and let it dry fully.
- Inflate to the recommended pressure.
- Inspect for damage and mark the tire position if needed.
- Store in a cool, dry, sun-free spot away from heat and chemicals.
- Bag each tire to block dust, moisture, and air exposure.
- Stand unmounted tires upright; stack or hang mounted ones.
- Rotate position and inspect monthly.
- Check the manufacture date and replace tires once they reach the recommended age, no matter how much tread remains.
A little effort at changeover time pays off later. Tires stored this way tend to retain their shape, resist cracking, and perform as they should when you mount them again next season.